The new ink sac
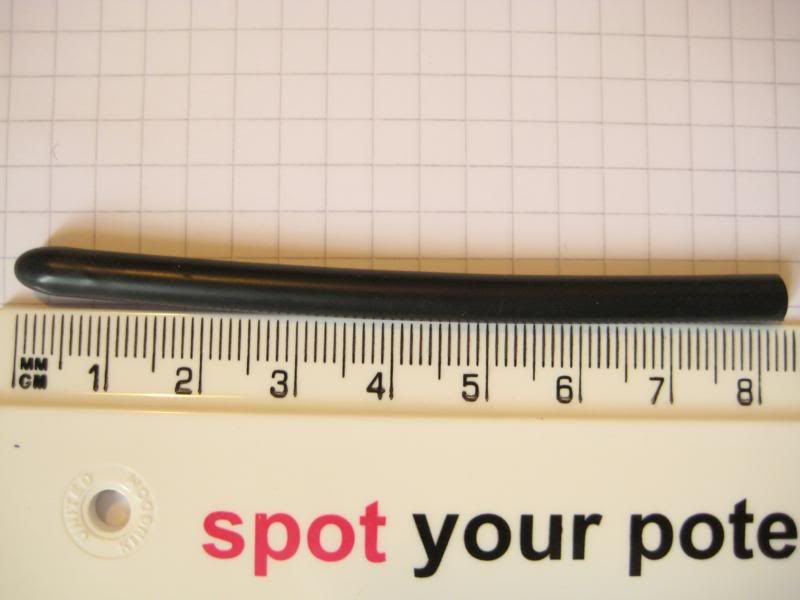
Here’s the new sac. I opted for the standard, non-thin-walled type. It’s quite a lot longer than the old one, so needed to be cut shorter. But how much? I only had the one replacement.

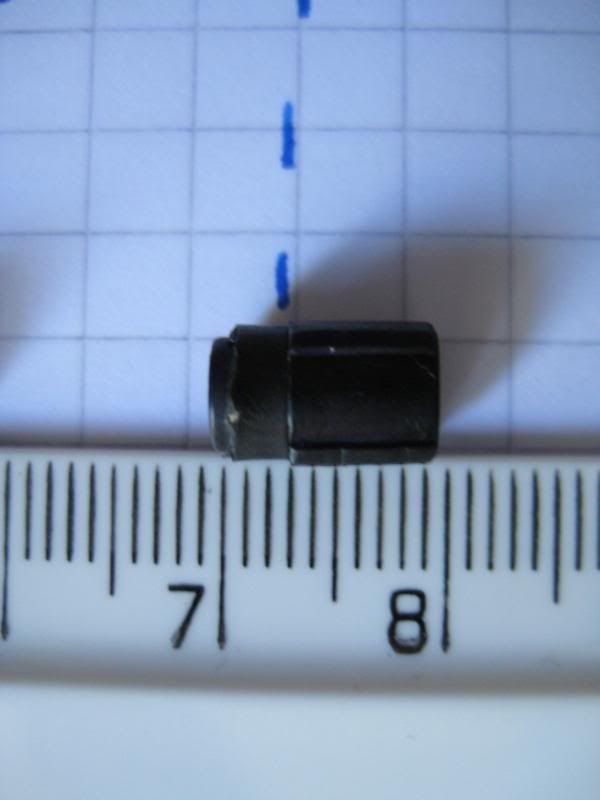
The old ink sac was about 5.9cm long. A little was still stuck to the rubber bung, around 3mm. Start-Run-Calc, I needed the new sac to be around 6.2cm long.

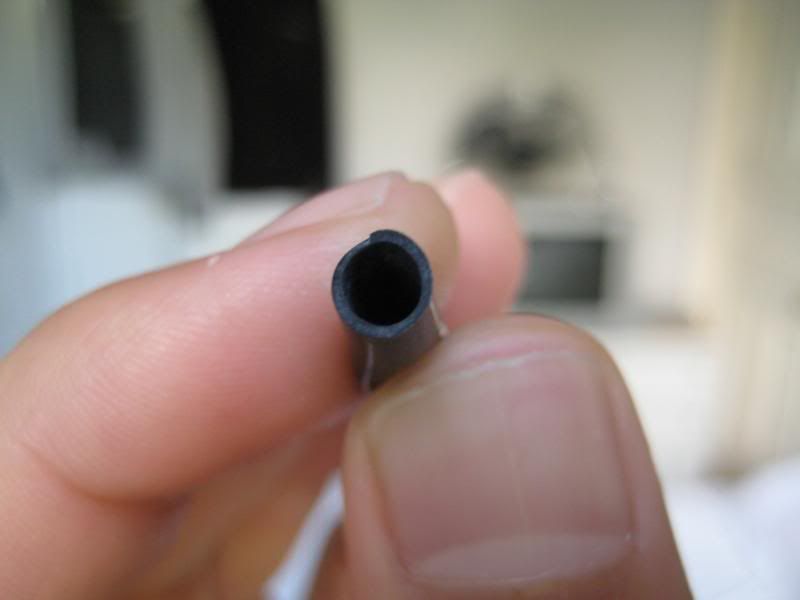
This is the new ink sac, I wanted a dry run fitting it to the rubber bung before cutting it to size and shellacing. There was a kind of dust or powder inside that I couldn’t photograph. Is this normal? I’ve never fitted an ink sac before and haven’t come across anything about powder inside the ink sac. I decided to clean it out in case it clogged up the pen’s feed on reassembly.

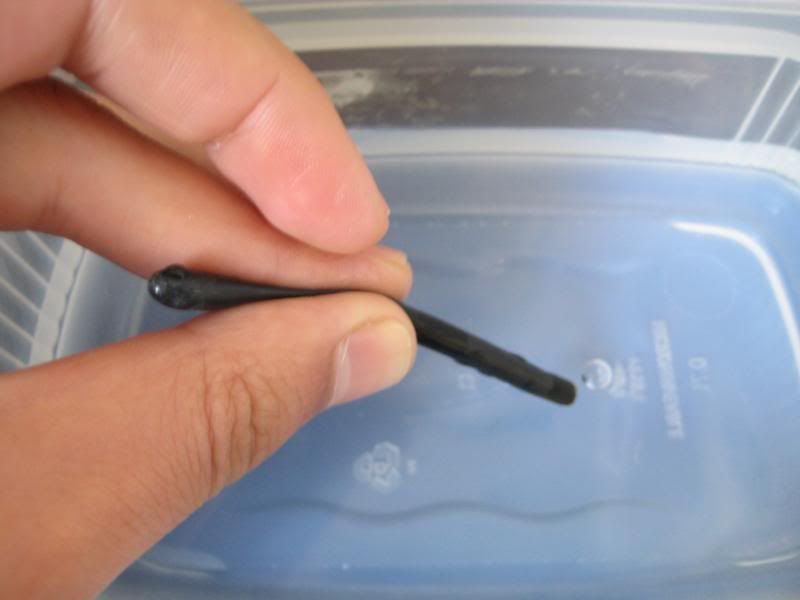
I flushed the new sac in water. I couldn’t take a photo and squeeze the sac at the same time, but by bringing up water and then squeezing it out, a heck of a lot of powdery stuff came out of the sac. I’m glad this wasn’t in the pen for first inking.
No comments:
Post a Comment
Comments seem to be working okay again. You can try leaving one, it might work! If not, you can reach me on twitter if you like @Flounder_FPN