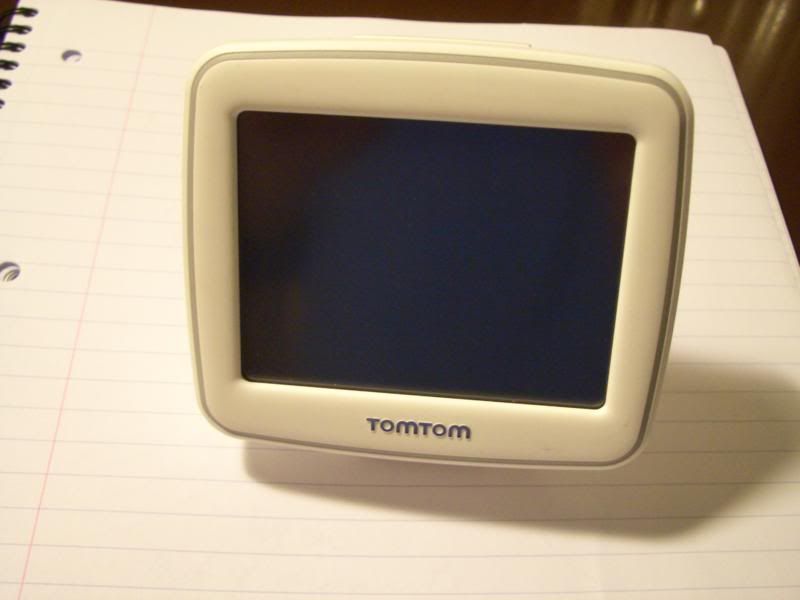
Sat Navs are a marvel and a treasure to people like me, especially on long trips. This example is a TomTom Start, an entry level model. The windscreen mounting system had been through some rough treatment, and was now jammed badly. Hopefully anyone with a broken TomTom windshield mount will find this post helpful.
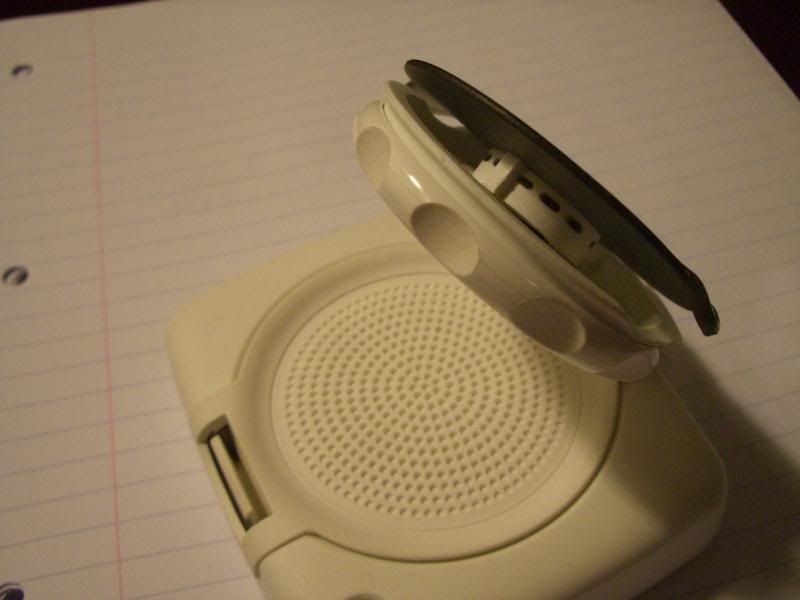
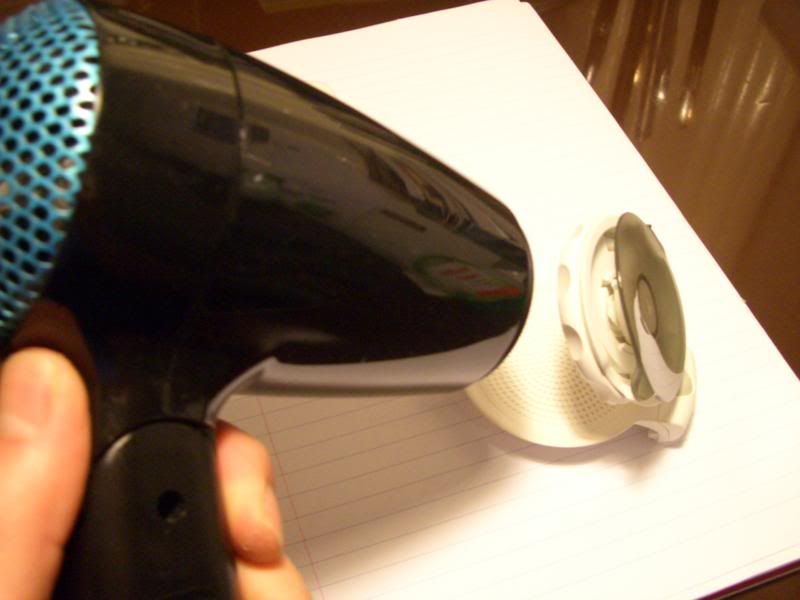
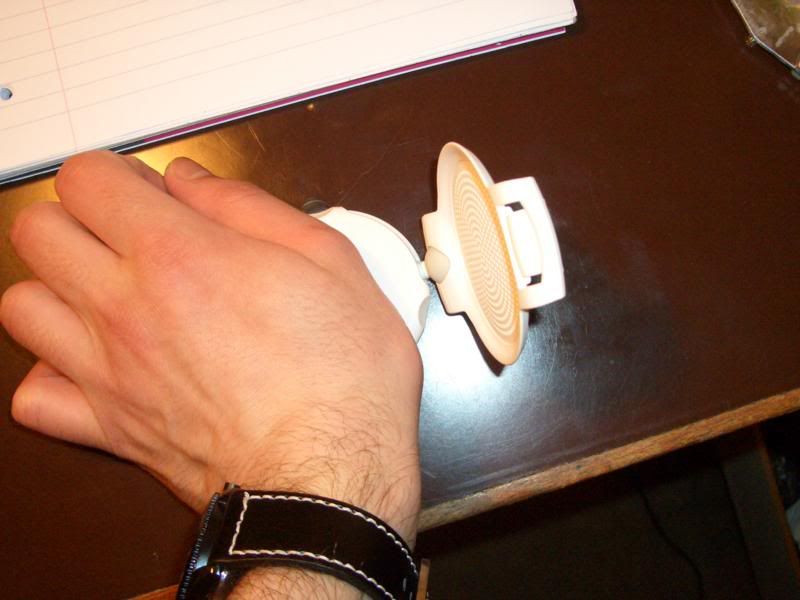
The design of the suction cup is quite clever; it folds flat against the back of the TomTom when not in use. When it's time to drive, the suction mount is unfolded, and a special grip rotates to lock it to the windscreen, or release it. The photo below shows the back of the TomTom, its suction mount, and the jammed up mechanism that locks & releases the suction cup.
Incidentally, every photo was taken with a Casio digital camera, featuring the 'lens error' they are famous for, and an indifferent white balance. Awfully sorry!
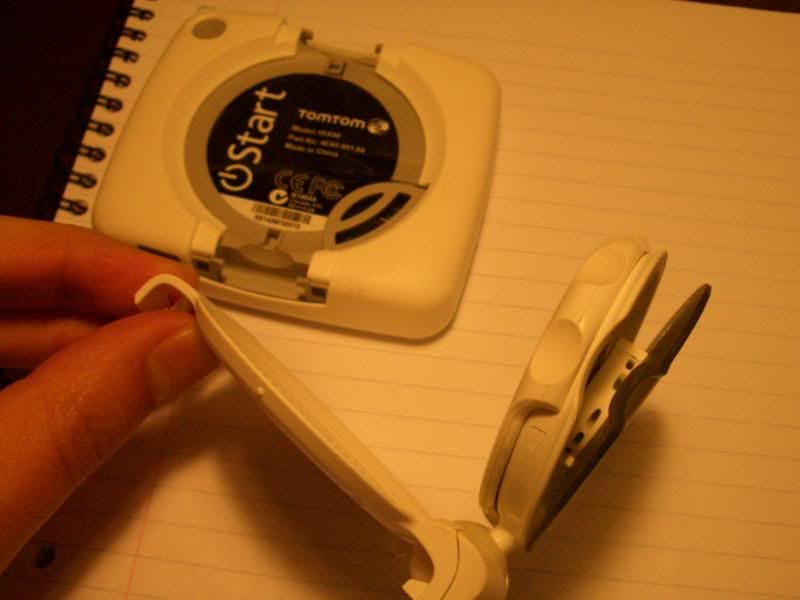
As the suction cup wouldn't pop back in with a bit of persuasion, I decided to try taking the mount apart, and then reassembling. First off, I unclipped the mount from the body of the TomTom:
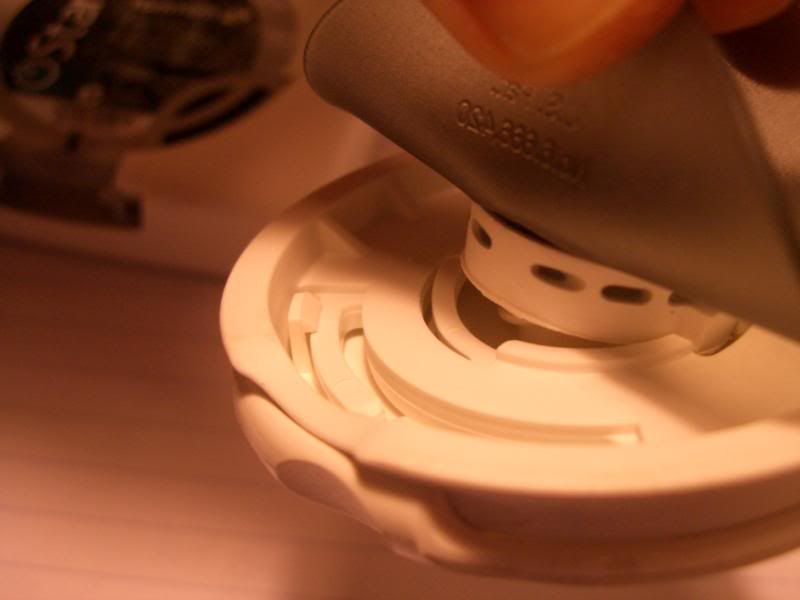
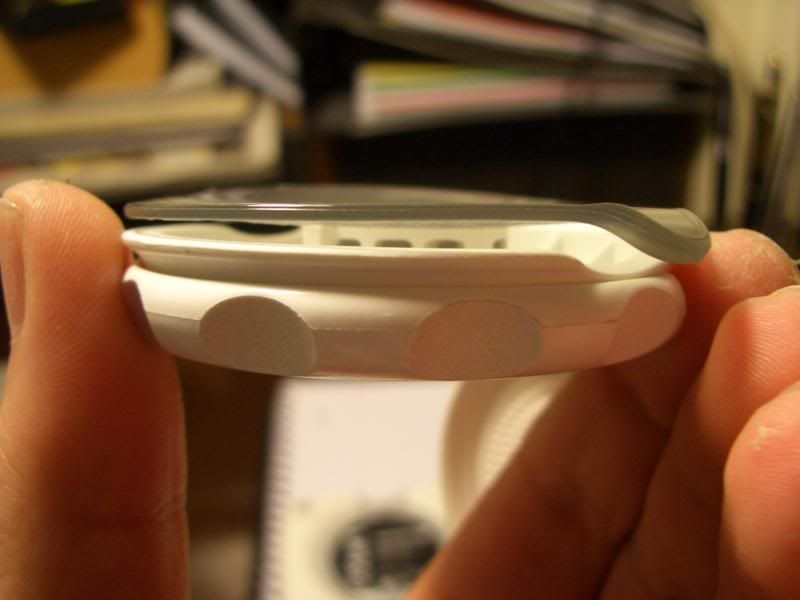
Here's a close-up of the problem; on one side, the rubber cup has come completely free of its corkscrew fitting, whilst at the same time being jammed solid on the other side.
There's an awful lot of plastic in the mount's construction, rather than metal - I imagine metal would have stood up to rough treatment better, but would have been too heavy. Plastic has a tendency to snap under stress, so I gave the mount a quick blast with a hairdryer to soften things up a little before attempting disassembly...
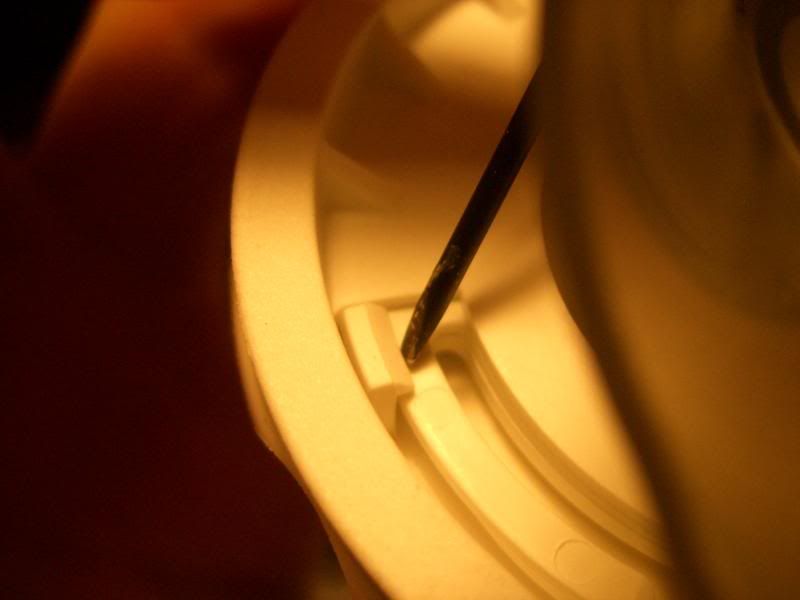
...then set about prising the mount apart. On either side, there is a connector holding it all together. This next photo shows one, about to be prised back with a thin screwdriver. Without prior heating, it would probably just snap off.
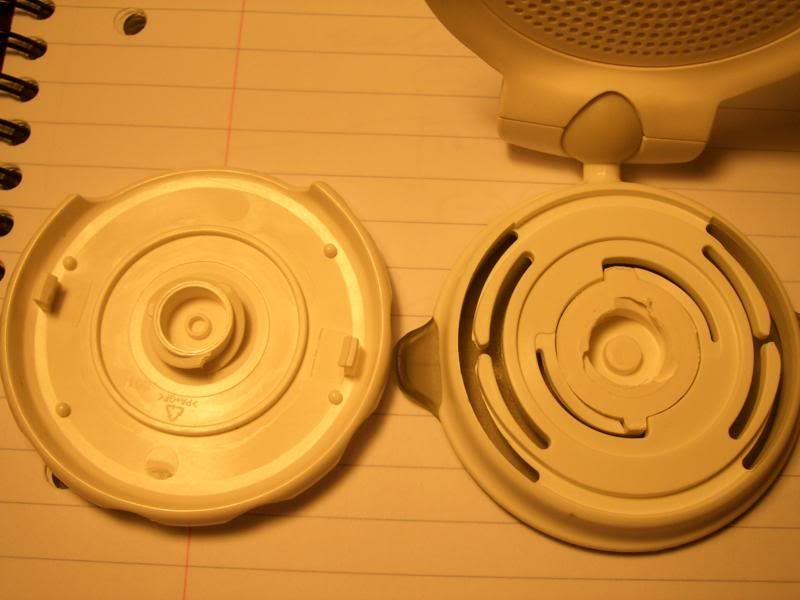
Once both connectors are released, you can seperate the parts. From left to right in the photo below, we have the rotating bezel that locks and releases the suction cup from the windshield, the suction cup, and the back section that clips to the TomTom. You can see that the centre piece of the suction cup has gotten a little chewed up.

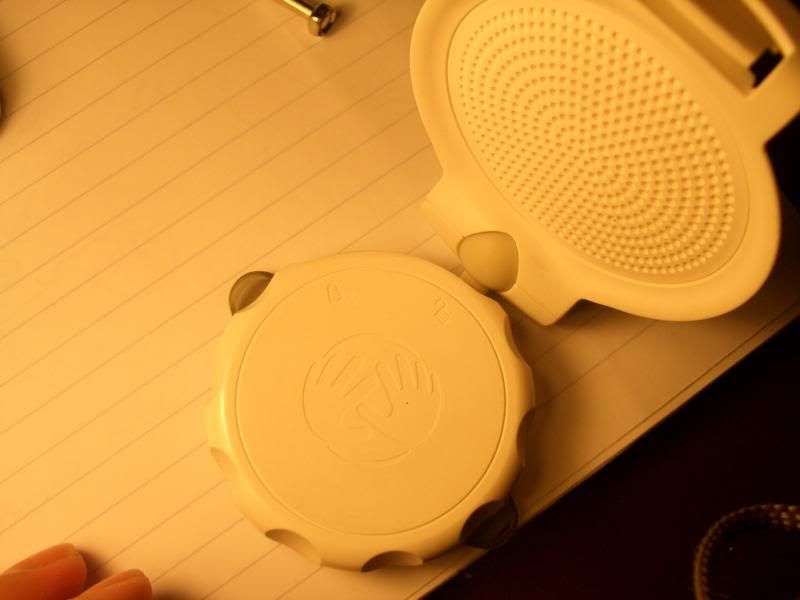
To put it all back together, place the back section over the suction cup. There's only one way it fits into place, as shown below - the thicker tab of the suction cup facing up, towards the ball joint of the back section.
Now flip the rotating bezel over and place it on top. The symbol of an open padlock should be aligned with the ball joint as shown in the next photo...
The final step is a bit tricky. You need to push down with equal pressure to ensure the connectors at either side of the rotating bezel clip onto the back section simultaneously. Otherwise they might well break, or at least one will not engage. I used the palm of my hand and a flat desk.
When the connectors engage, try rotating the bezel. The suction cup should move in and out evenly. Here's a photo of the fixed mechanism.
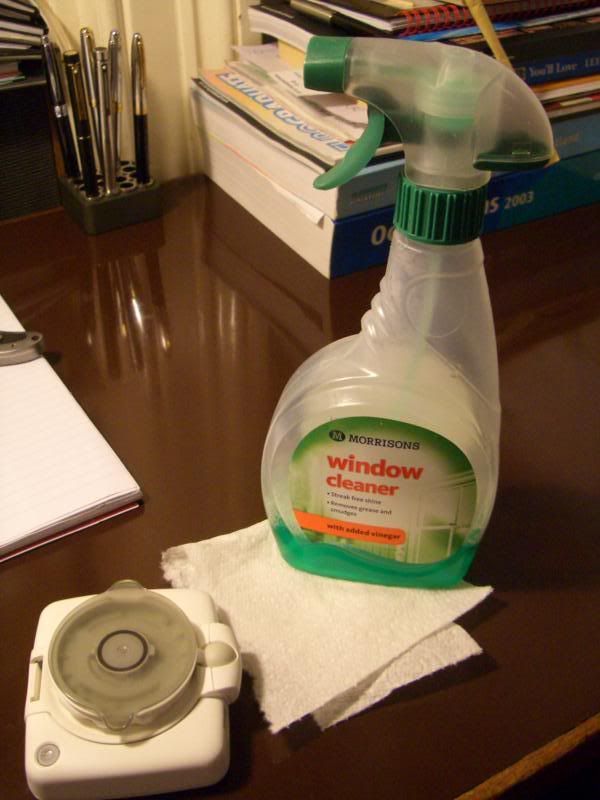
After all that fettling, the suction cup will be covered in fingerprint grease, dust, and what have you, reducing its adhesive properties. A wipe with some window cleaner cleans it up for the next time you stick it to the windshield.
All done! Thanks for reading.