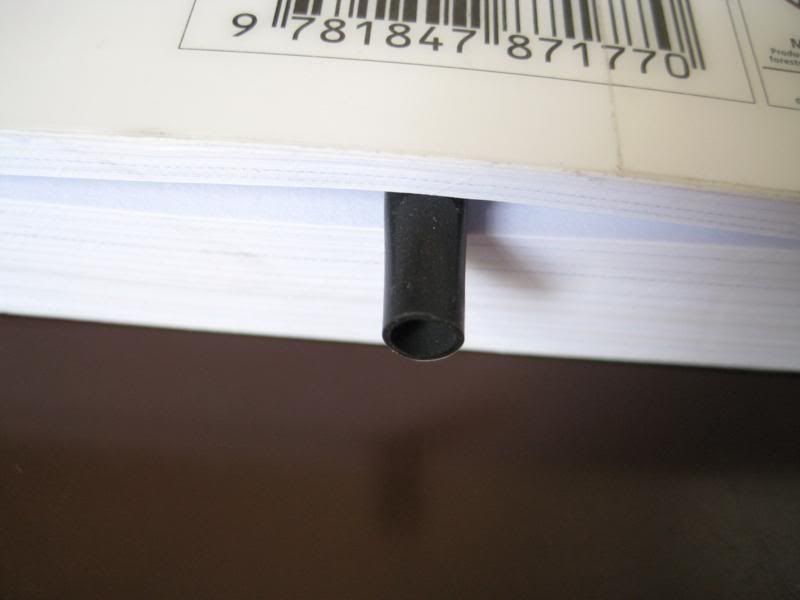
This is the best method I could come up with for fitting the sac to the rubber bung. To stop it moving about, I trapped the sac in the pages of this research methods book (the same one I had been trapped in all summer, hohoho).
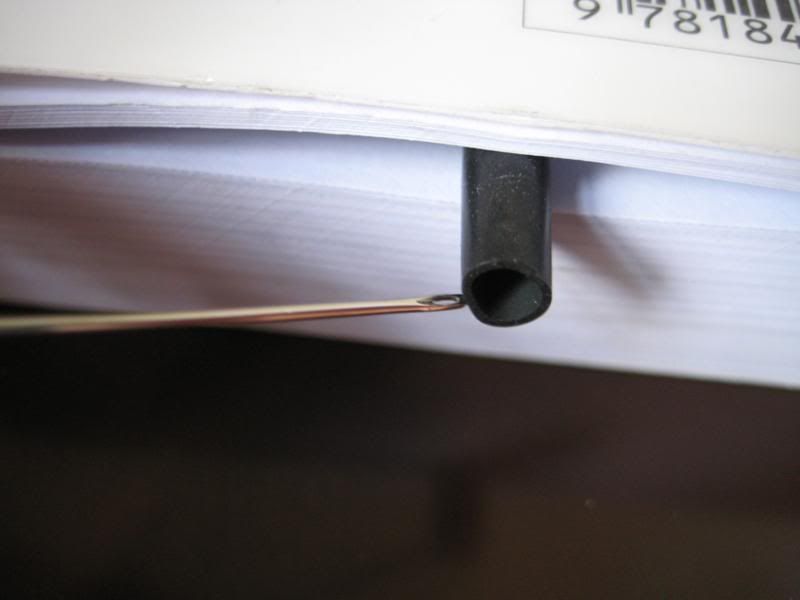
Then I introduced the eye of a needle to the top of the sac entrance.
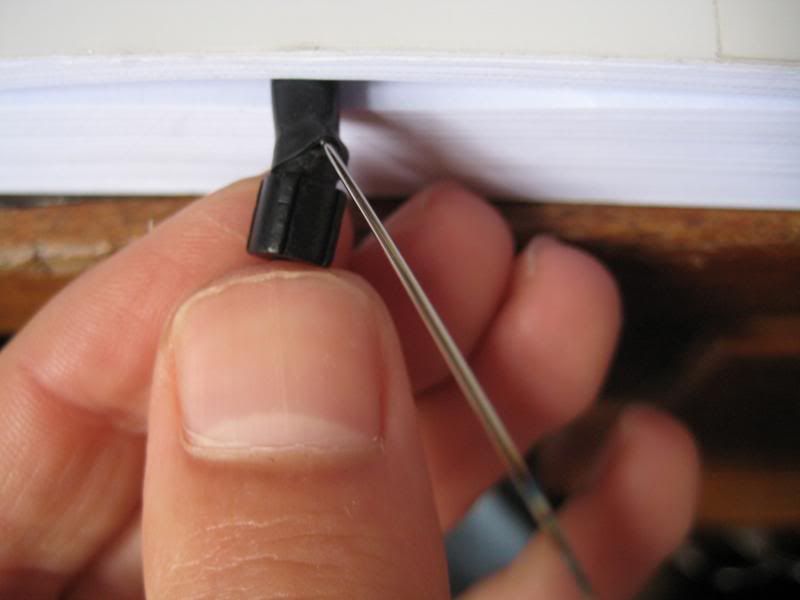
This is a bit awkward to describe. I placed the bottom edge of the rubber bung ridge into the bottom of the sac entrance, and swung it upwards towards the needle, whilst withdrawing the needle.
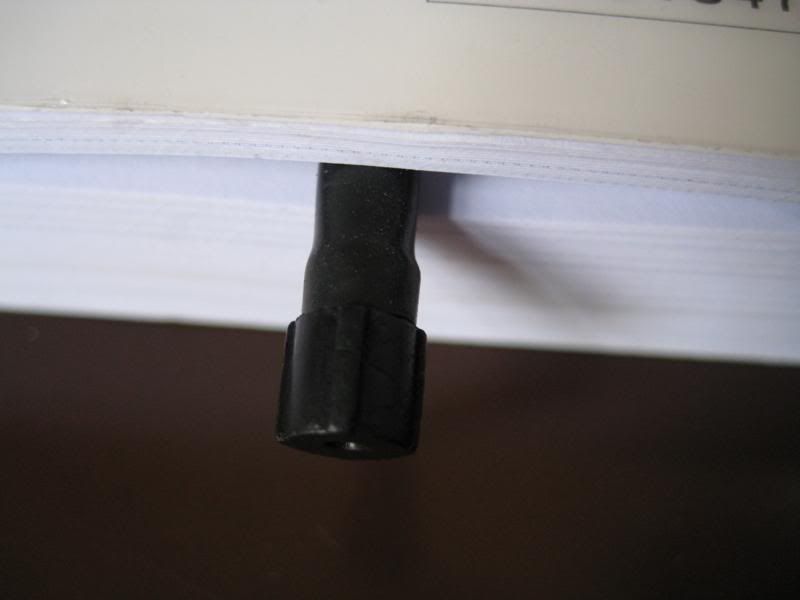
Ta-da! The sac in place.
Cutting the new sac to size
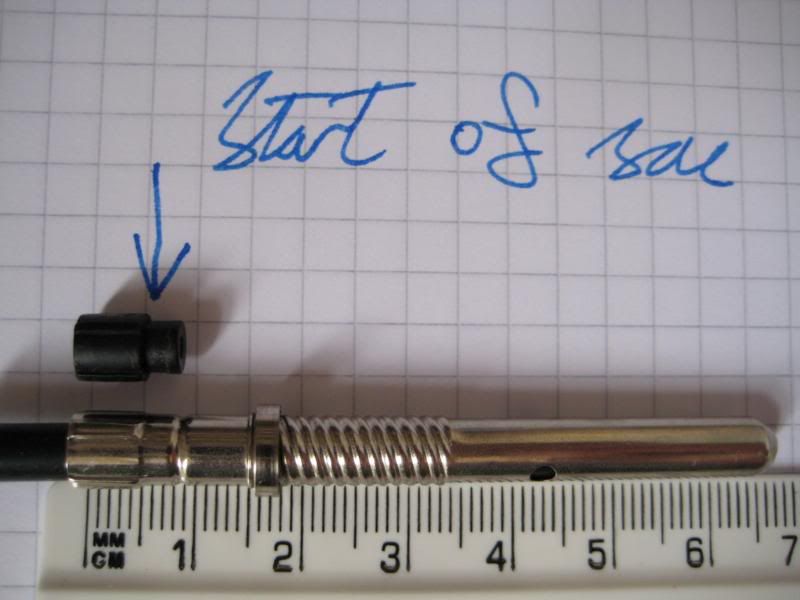
Measure twice, cut once. I popped the new sac into the protector and measured the excess. I needed it to be about 6 cm long.
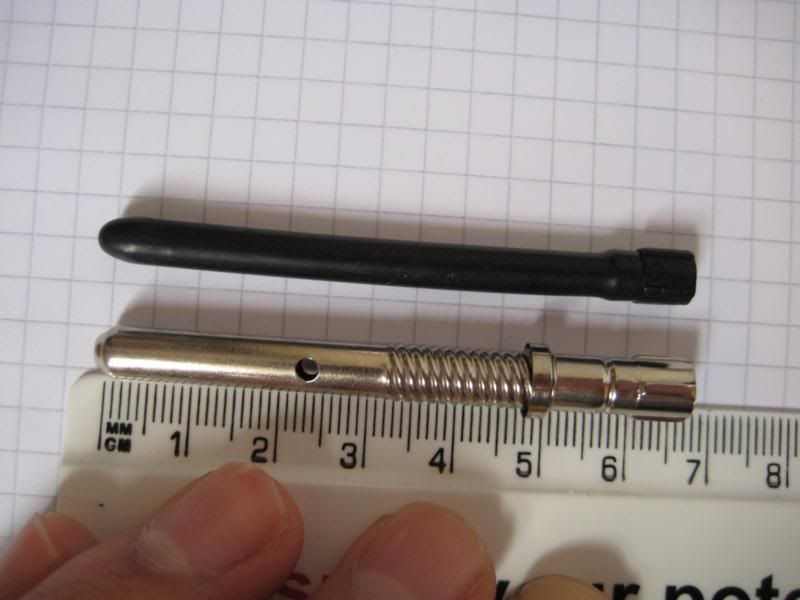
Pretty close!
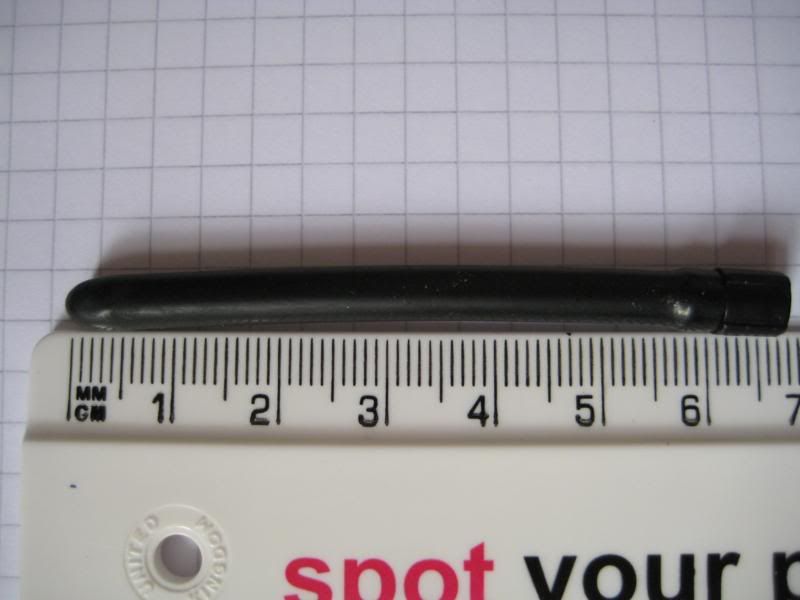
Still no shellac, I compared the cut sac & bung against the protector. It looks okay!
Shellacing the new ink sac to the rubber bung
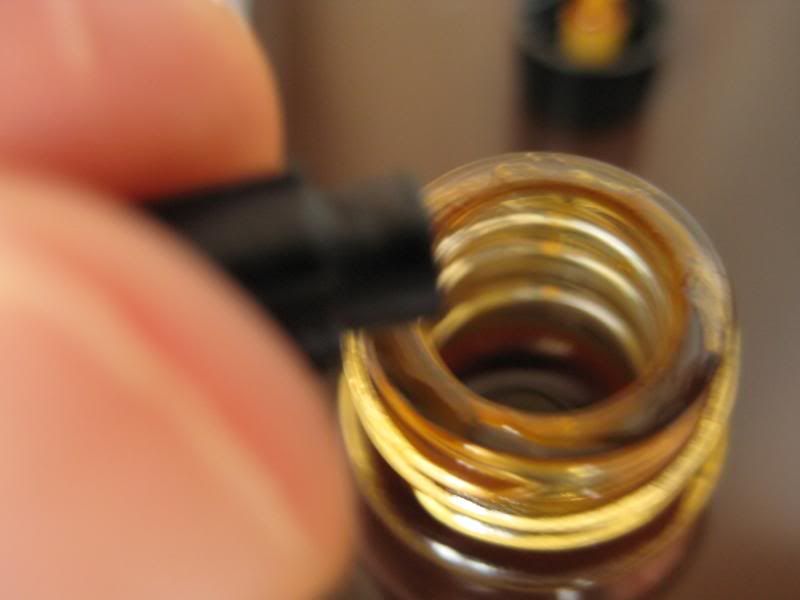
I abandoned the applicator brush in favour or first wetting the lip of the bottle, then lightly rolling the rubber bung along its edge. Sorry about the blur!
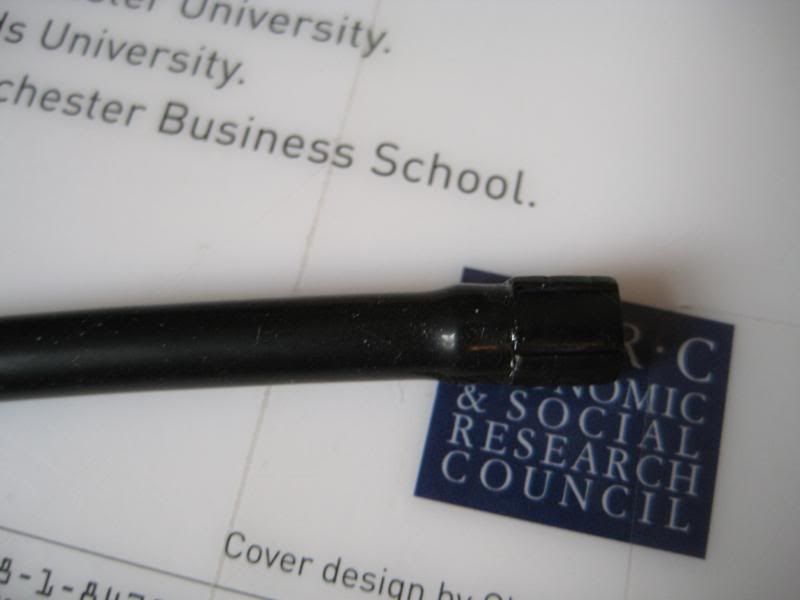
I used the book & needle method to pop the ink sac into place. I couldn’t get pure talc for a while, so the shellac had days to dry.
No comments:
Post a Comment
Comments seem to be working okay again. You can try leaving one, it might work! If not, you can reach me on twitter if you like @Flounder_FPN