 |
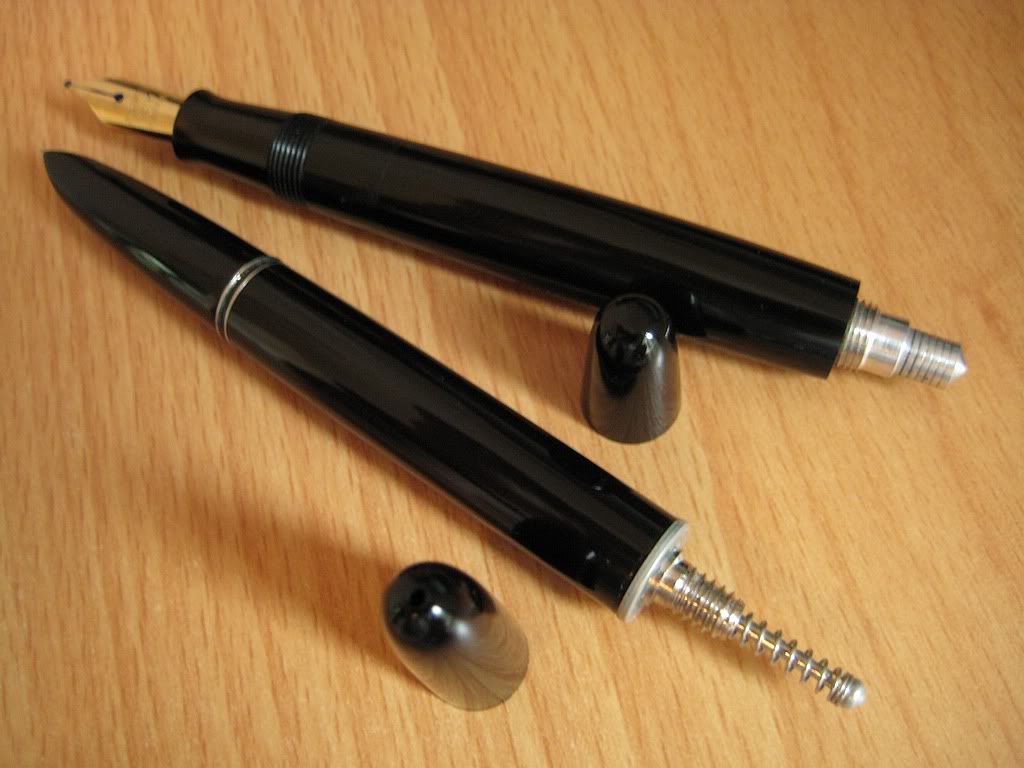
| Foreground: A 616 Jumbo with the vacumatic filler installed. |
Bringing together the filler and the pen was quite the conundrum for a while. As mentioned earlier, the 616's barrel lacks a vacumatic Parker's dedicated inner contours. To compound the issue, the cross section of the barrel is not quite circular, like a gibbous moon.
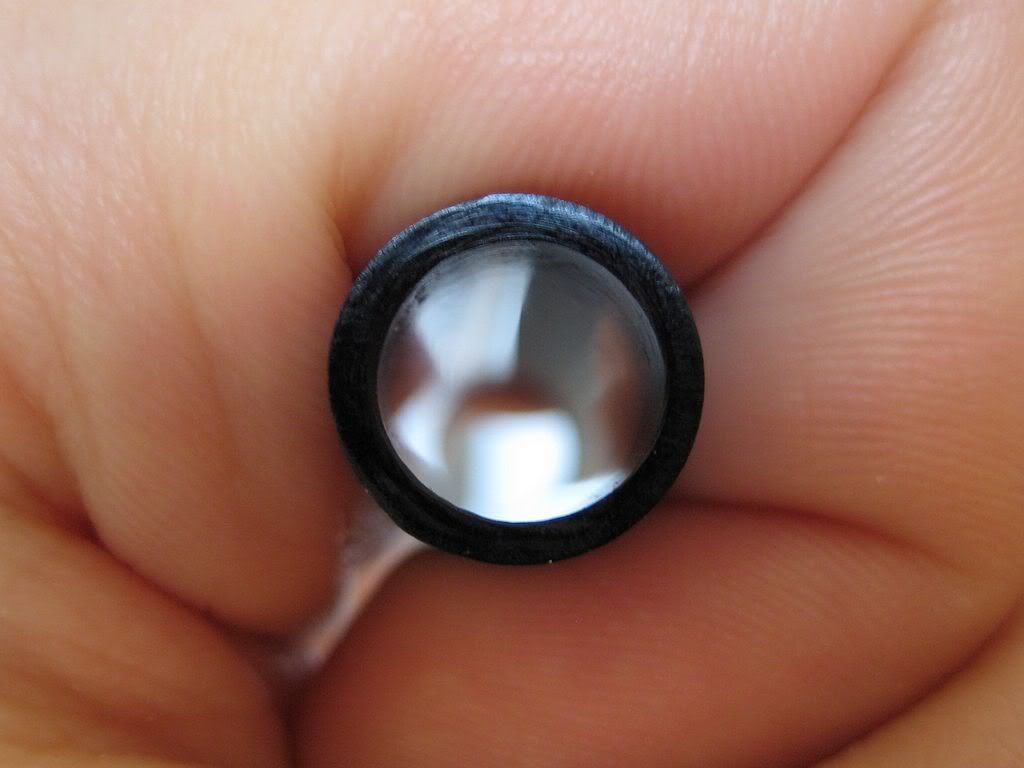 |
| The 616's thick barrel wall makes a strong platform for the filler housing; its irregular circumference is less helpful. |
In her first sea trials, this gave the filler big problems maintaining an airtight seal. Of course, with the slightest air gap, no vacuum could be generated. I puzzled over this for several evenings. Some sort of deformable gasket, or packing? Too rigid. Wraps of teflon tape around the top of the filler? Too fragile. Try to hone the cavity true? Too involved. The Ultragrey left over from changing the blasted Civic's rocker cover gasket? Quite messy, and too costly.
Sometimes epiphanies don't strike; with a shrug, I put all the bits in a ziplock baggie, all the photos in a folder, and didn't think about the project again for 5 months.
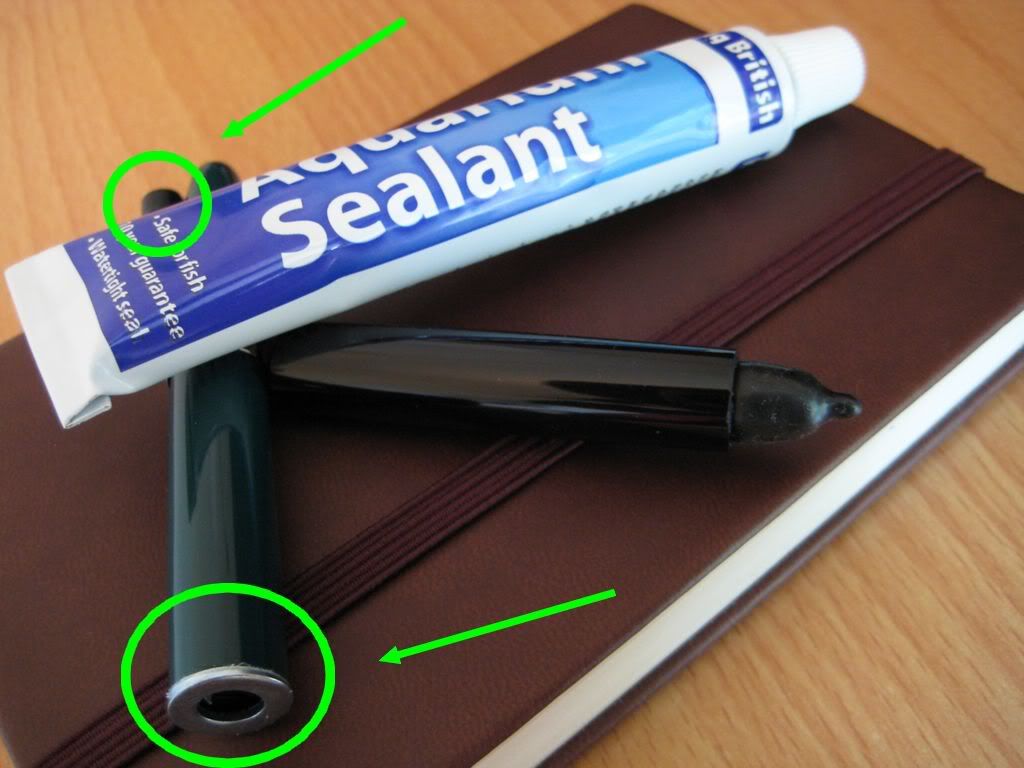 |
| Highlighted: rubber ink sac and steel washer sealed to a 616's plastic barrel. |
Still, better late than never! I picked up some aquarium sealant from eBay, and was suitably impressed. It goes on with with the consistency of a thick grease, and cures to form a strong waterproof bond (as well it should to mount valves to fish tanks).
In a test of its capabilities, I used the sealant to stick an ink sac off-cut and steel washer to another 616 barrel. After 2 days, the steel washer took quite some effort to pull off, while the ink sac almost tore rather than separate from the plastic, despite being sealed to the barrel side on (like this 00).
I found that the 48 hour dry time has its advantages. You don't have to rush during application, and any excess sealant can be wiped off well before it has a chance to set - even peeled off after the first few hours. I could afford to be very liberal with this stuff when mounting the filler -application was with the eye of a large needle. Notice the lack of talcum powder in the photo below. There's loads within the diaphragm, and none without, so as not to interfere with the sealant.
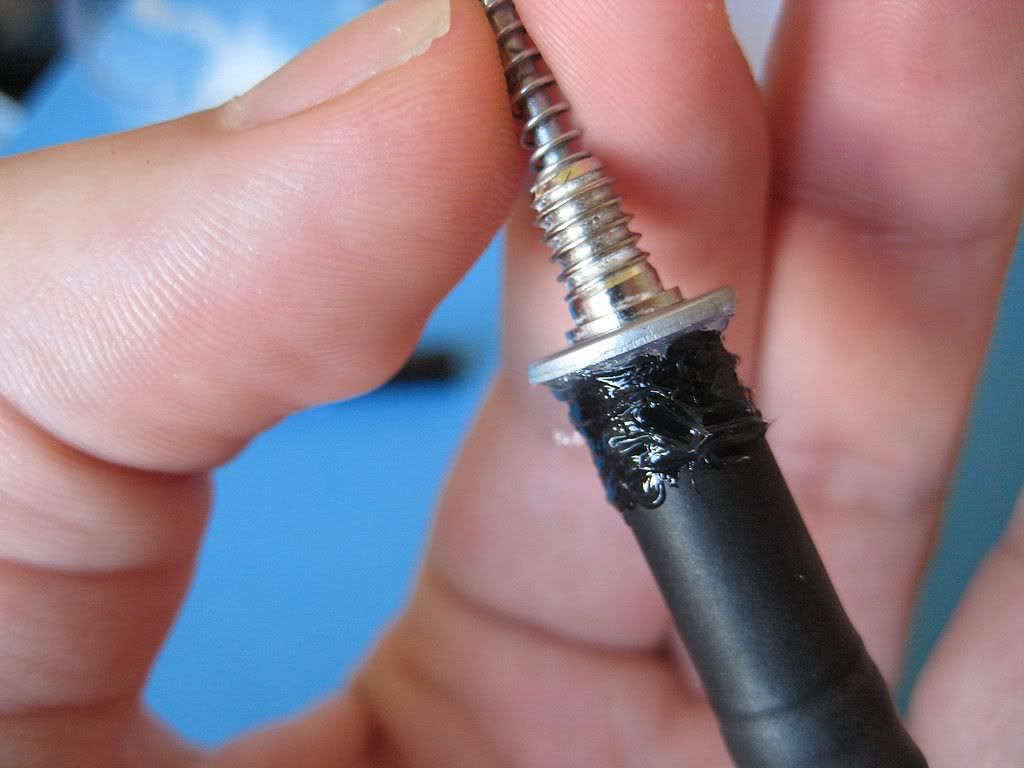 |
| A thick layer of sealant, covering a fair length of the unflexing area of the diaphragm and steel washer for peace of mind. |
Adapting the advice on the vacumatic tear down page at the Restorer's Art site, I then lubricated the barrel (rather than the diaphragm). This meant I could leave a decent sized clean & dry area at the top of the barrel for the sealant to adhere to. A cotton bud soaked in soapy water, inserted from the bottom of the barrel, performed this job.
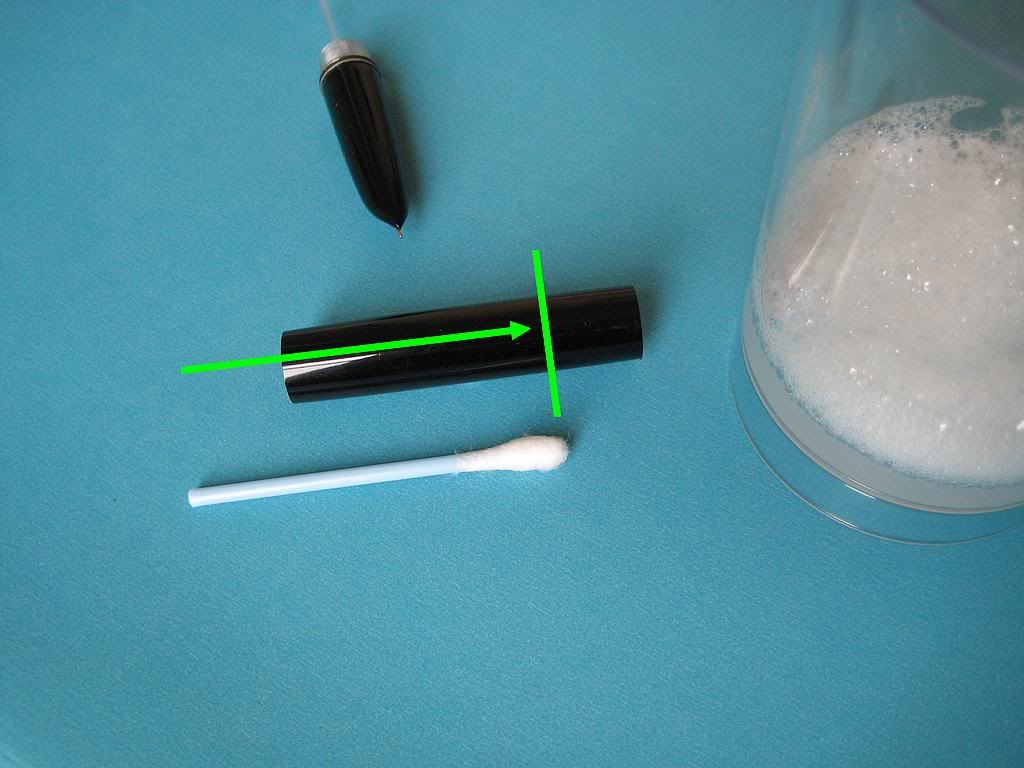 |
| Lubricating the barrel with soapy water helped the rubber diaphragm slide into the barrel rather than bind halfway up. |
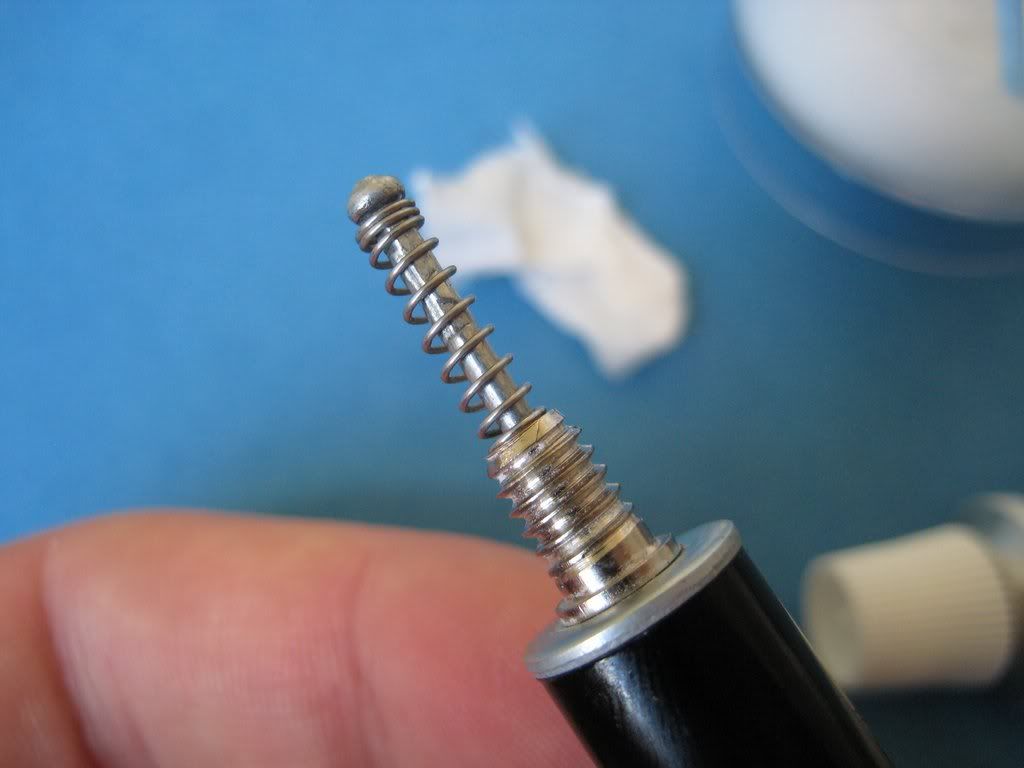 |
| The filler shortly after installation, with the majority of excess sealant wiped away. |
That's all, folks! Despite the delays, I had a blast visiting the many great sites on vacumatics, giving it a go, and eventually watching the bubbles form as the assembled pen began to fill. This aeromatic to vacumatic conversion is the last in this 3 part series of articles on Hero's 616 Jumbo, did you enjoy it?
Until next time, thanks for reading!
Flounder
No comments:
Post a Comment
Comments seem to be working okay again. You can try leaving one, it might work! If not, you can reach me on twitter if you like @Flounder_FPN