 |
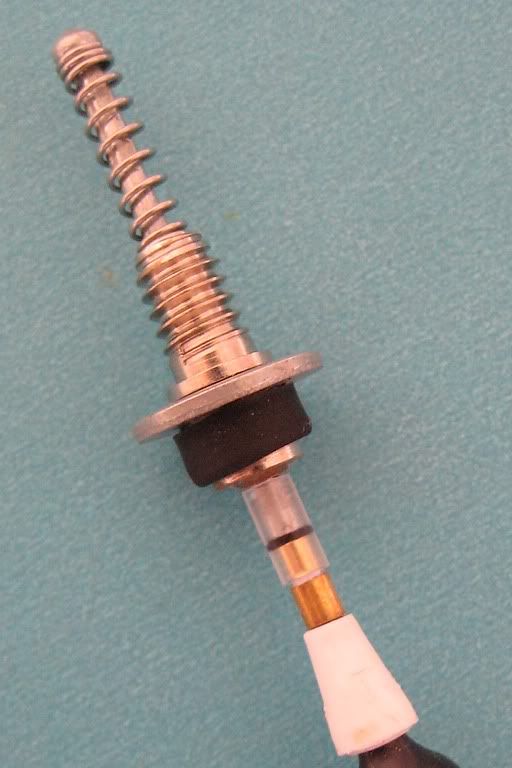
| The 616's completed vacumatic filler |
From top to bottom, we have:
The user operated plunger stem,
A return spring,
The filler housing, with external threading for the blind cap,
A steel washer that keeps the filler from falling into the pen's barrel,
Ballpoint pen derived tubing and tip, which connects the plunger stem to...
The white pellet holder, to which the rubber diaphragm (just visible) is later fastened.
The 'filler housing' is a rather grand title given its constituent parts! The vital component is a Woods bicycle tyre valve, for the following reasons.
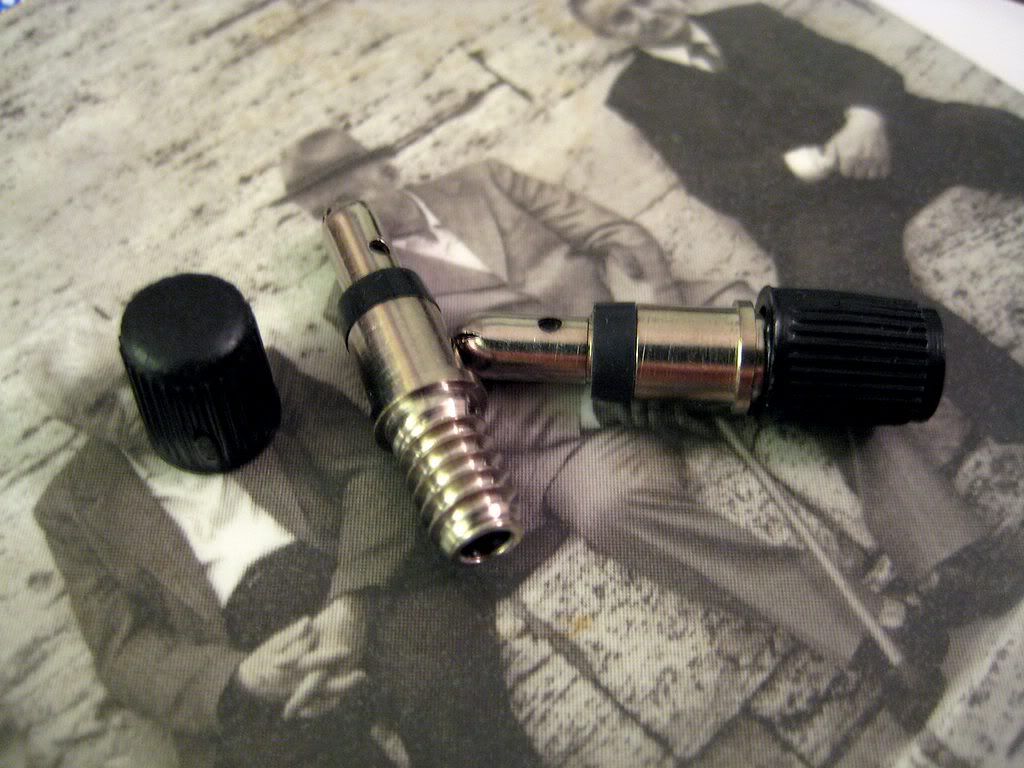 |
| A pair of Woods bicycle tyre valves. |
- Unlike the ubiquitous Schrader valve, a Woods valve is small enough to easily fit inside the 616 jumbo's barrel.
- The Woods valve comes with a threaded cap, making the Vac 616's blind cap construction very simple.
- It has a lip before the threaded area, ideal for easy mounting of the assembly to the barrel via a steel washer, with no possibility of pushing it into the pen.
- Its solid metal construction makes for a sturdy filler, minimising flex, slop and lateral play.
- With a little modification, it will allow a rivet tang to pass through it internally as a plunger rod, while being narrow enough externally to act as a physical stop to the flared end of the tang.
- Woods valves cost all of £2.25 a pair. Perfect!
 | ||
| Cutting the valve apart. The piece on the left was discarded. |
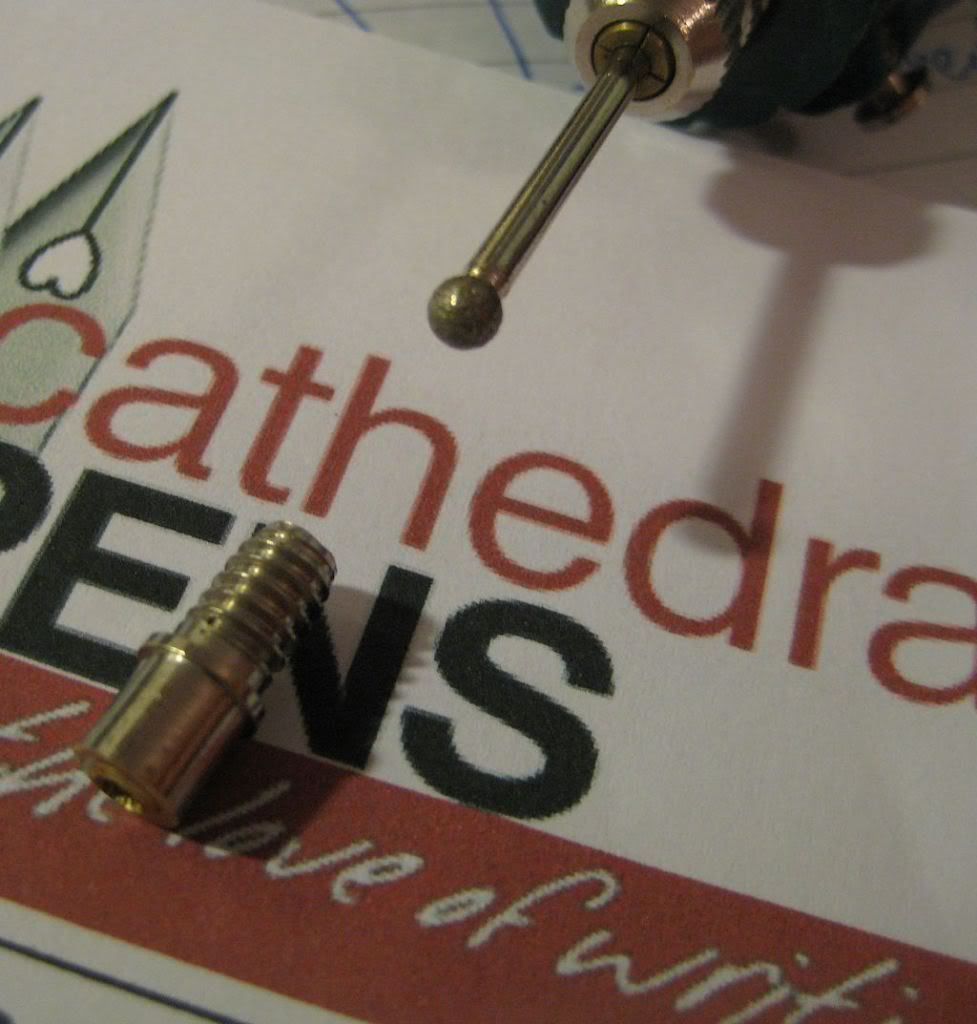 |
| While not strictly necessary, introducing the mini drill's ball attachment to the top of the valve created a nice dished seat for the return spring to sit in. |
The next step was to widen the hole at the bottom of the valve, to accommodate the plunger stem (the tang from a blind rivet). I think it was some sort of solder, or brass or some other soft metal, perfect for smooth and silent movement of metal on metal.
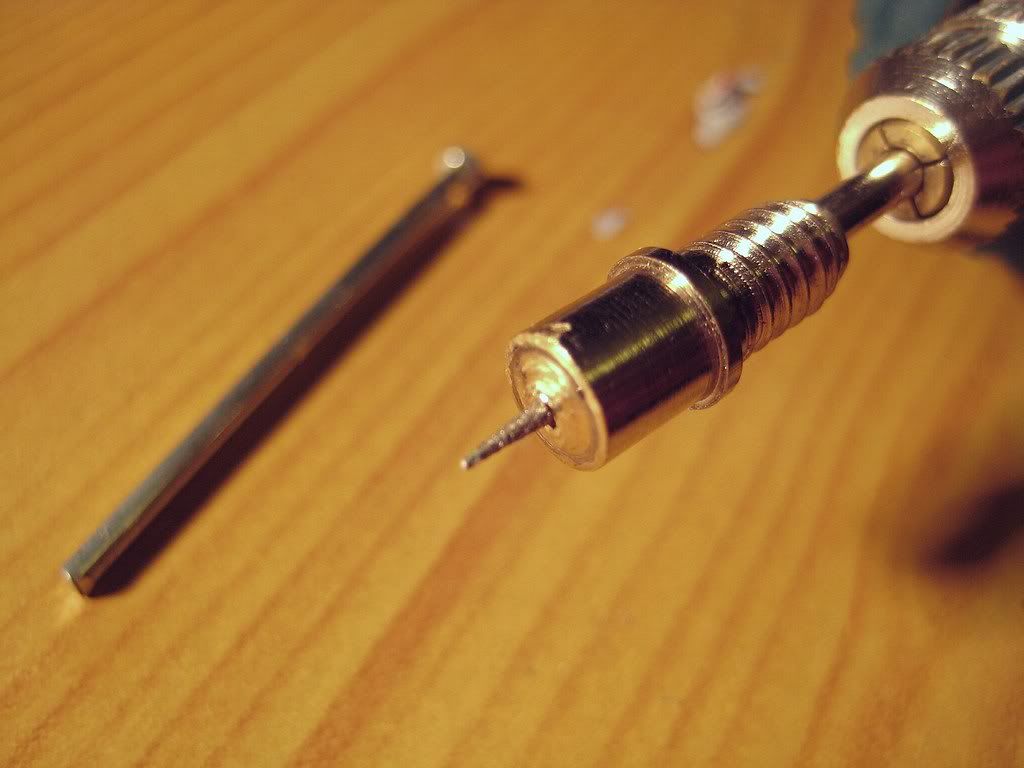 |
| Widening the hole at the bottom of the valve. |
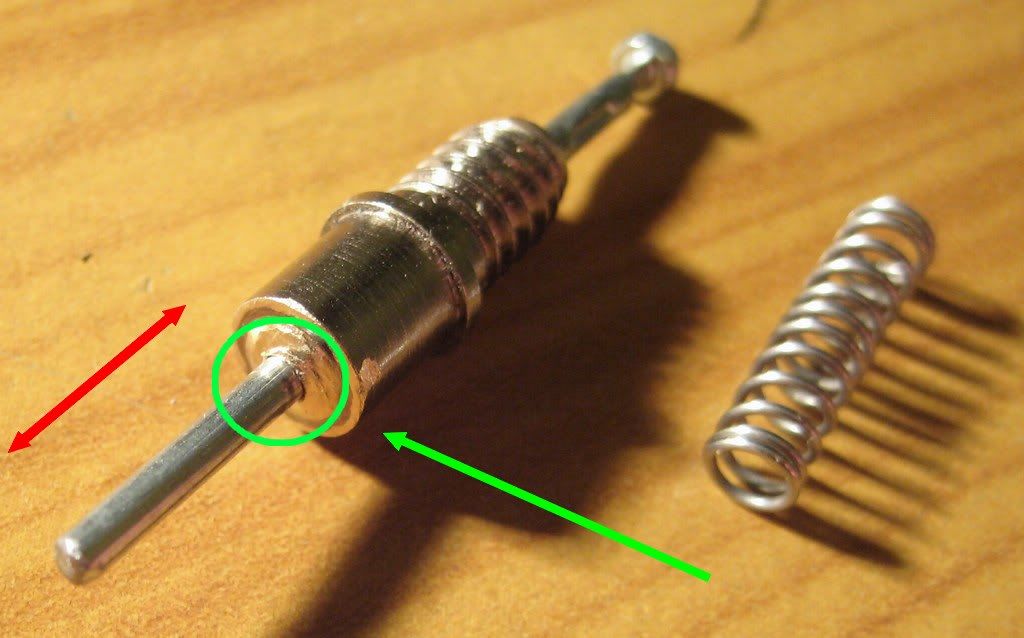 |
| Circled in green, checking plunger stem clearance. The close fit helps prevent lateral slop, allowing only movement in the direction of the red arrow. |
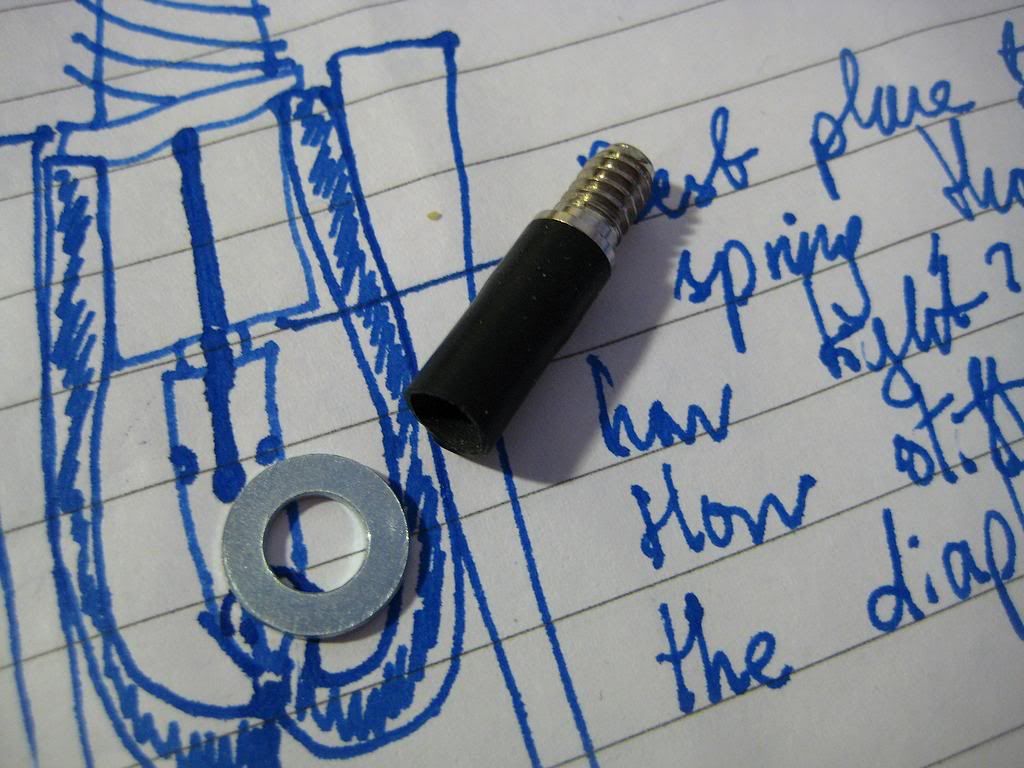
Once the hole was widened, I smoothed out the burr so the rubber diaphragm wouldn't catch on anything sharp when installed later on. It was time to add the steel washer that would top off the barrel, shown in the photo below.
 |
| From left to right: an off cut from a size 16 rubber ink sac, a steel washer, and the valve body. |
Now, even on its own, the washer can't get past the lip on the valve, which is good news. However, its inner diameter is a slightly loose about the circumference of the valve body. To tighten things up, I first pushed a size 16 ink sac off-cut up to the lip of the valve, then forced the washer after it. This made for a centred and very tight fit.
Like this, do you see? First, the off-cut up to the lip of the valve body...
 |
| January Flounder, what were you on about in those diagrams? |
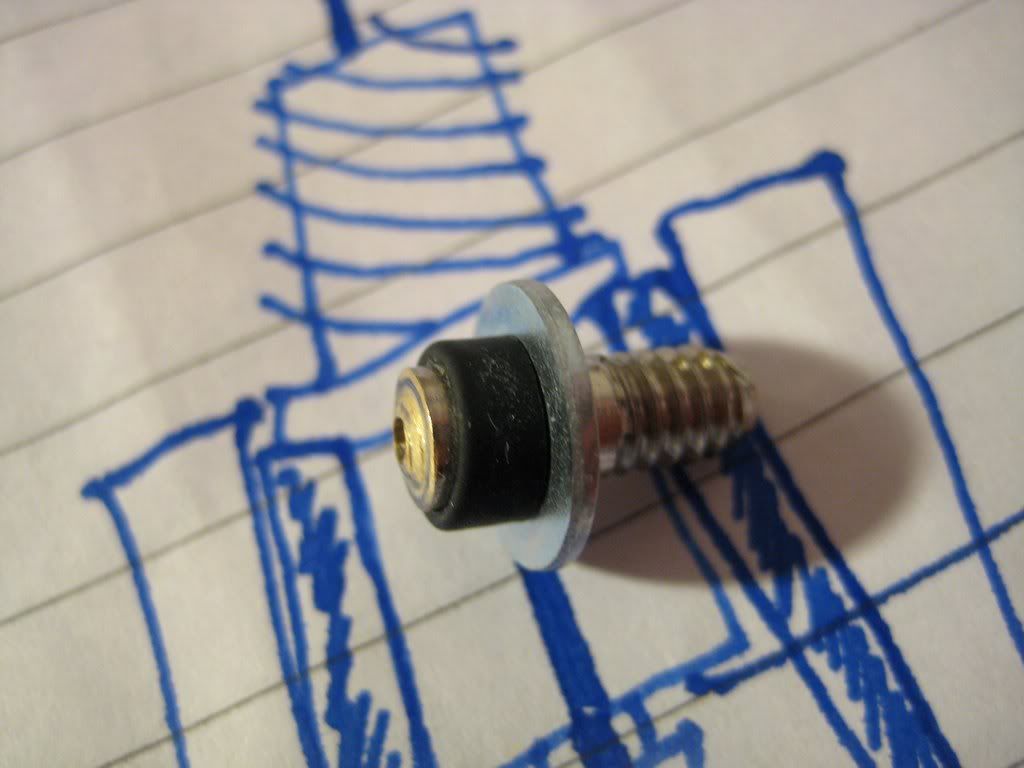
... And the washer forced on after it.
 |
| The washer, pushed tightly up to the lip on the valve body. |
I then trimmed the off cut to about twice the length of the bottom end of the valve, and folded it over (somewhat unevenly, but this excess is hidden from view when the filler unit is complete. The washer is of course perfectly perpendicular to the valve, as the lip acts as a stop, preventing any lopsidedness.).
 |
| The filler housing, ready to accept the pellet holder below, and the plunger stem above. |
No comments:
Post a Comment
Comments seem to be working okay again. You can try leaving one, it might work! If not, you can reach me on twitter if you like @Flounder_FPN