 |
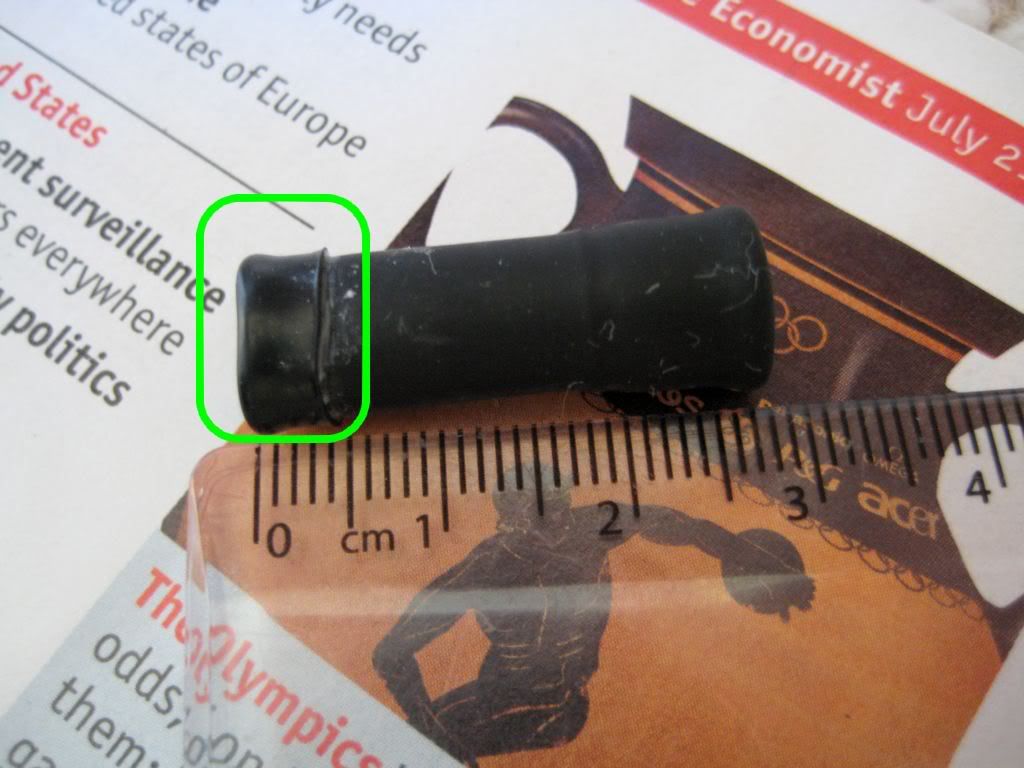
| The 616's diaphragm is kept quite long, to allow for the length of the vacumatic filler. The green area of the x ray is supposed to represent the inverted portion of the diaphragm. Stop laughing at the back! |
The correct length was figured out by hooking the diaphragm up to the pellet holder (turning it inside out like a sock on laundry day), then pressing the plunger. As it turned out, the diaphragm had about 5mm that it could safely lose without stretching the rubber at full extension.
 |
| About 5mm of diaphragm for the chop. The excess was used in the blind cap's construction. |
To demonstrate the diaphragm's length, and the plunger's range of motion, here's a short YouTube clip (sorry about the unhelpful angle).
To fit the diaphragm to the filler, I stuck a length of ballpoint ink tube up its backside, to get the (red) pellet clicked firmly in the (white) pellet holder.
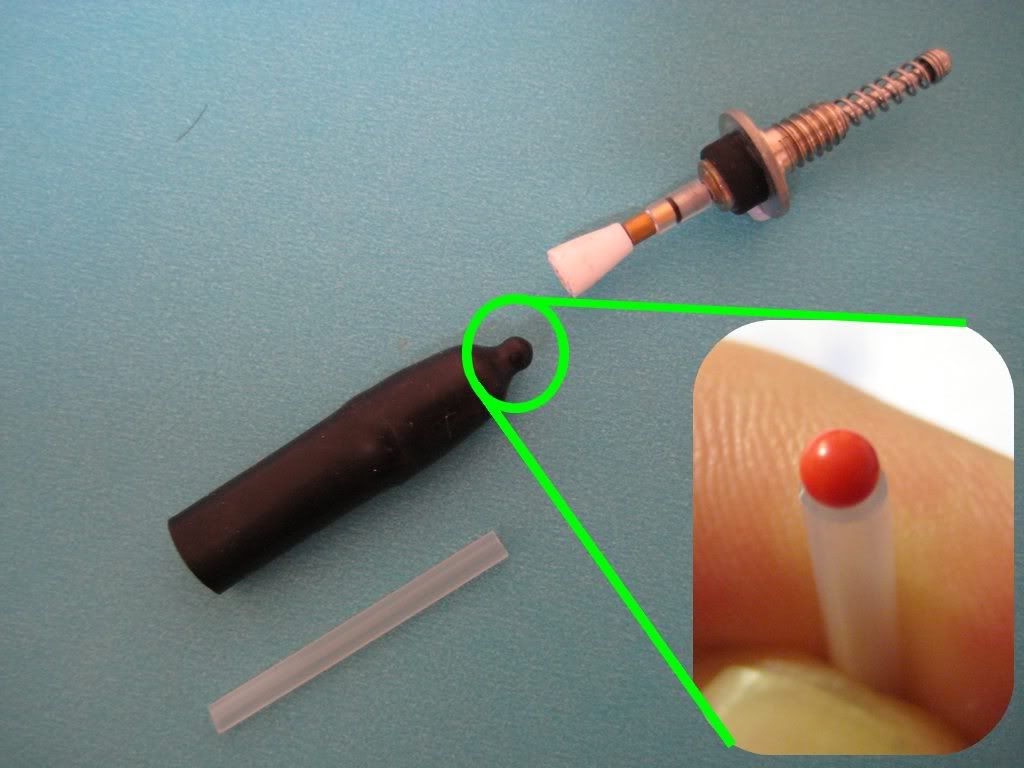 |
| A length of the biro's ink tube can be used as a makeshift ramrod, pushing the tiny red pellet at the top of the diaphragm into the pellet holder. |
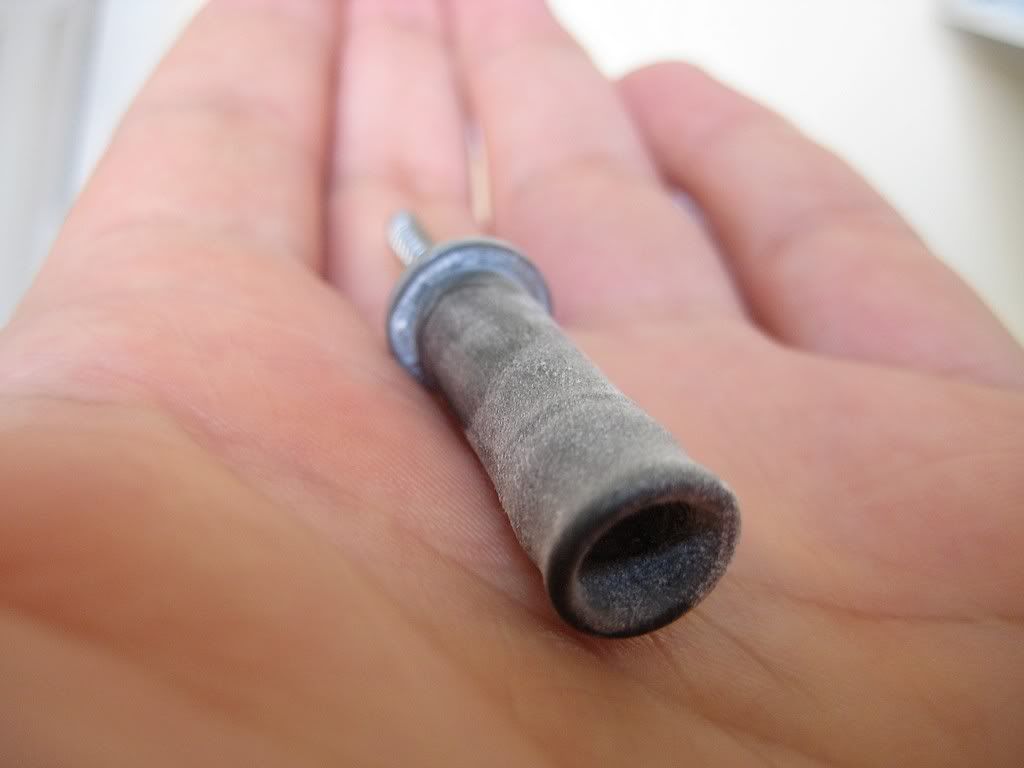
After attaching the diaphragm, I gave it a very generous dose of talc, to help convince the rubber to invert properly.
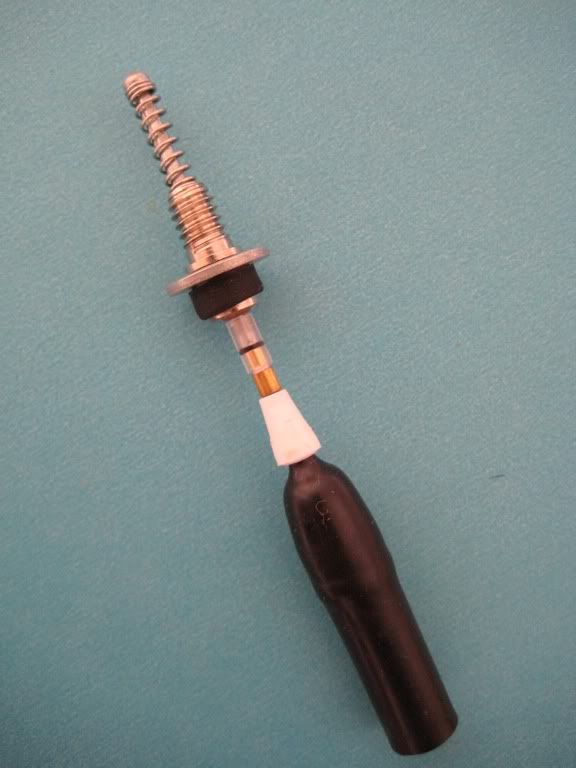 |
| The diaphragm secured to the bottom of the plunger rod... |
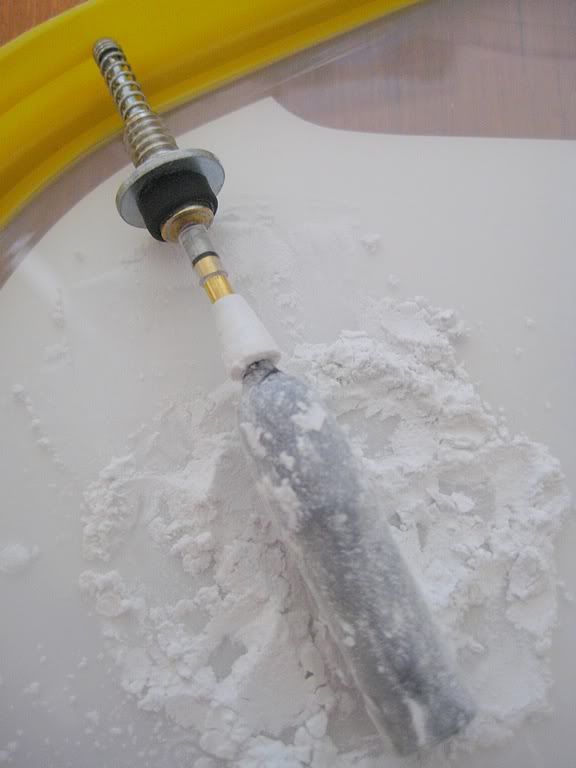 |
| ... and liberally powdered with talc. |
It's a bit messy with so much talc involved, but I found the more talc used, the easier it was to invert the diaphragm. Here's the completed vacumatic filler with diaphragm installed, ready to be fitted to the Hero 616 in the final post of this series.
Next up - you guessed it - installing the filler.
No comments:
Post a Comment
Comments seem to be working okay again. You can try leaving one, it might work! If not, you can reach me on twitter if you like @Flounder_FPN