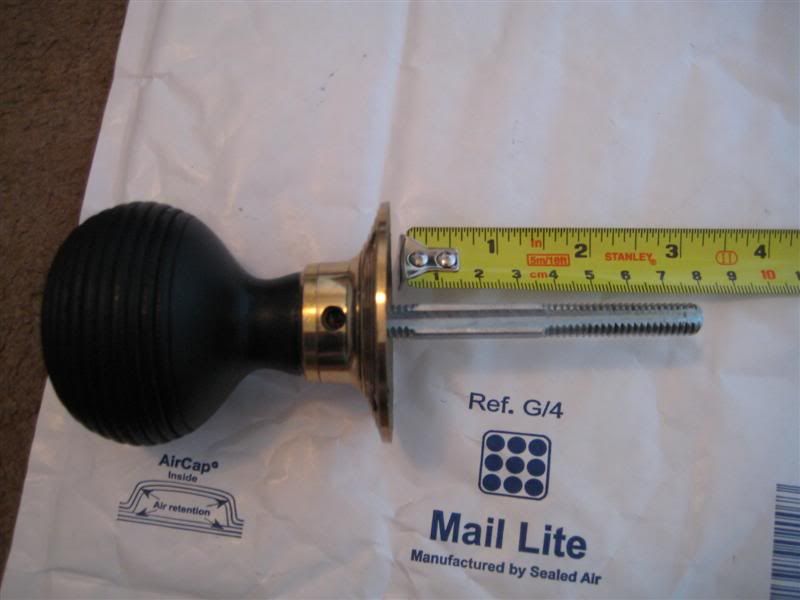
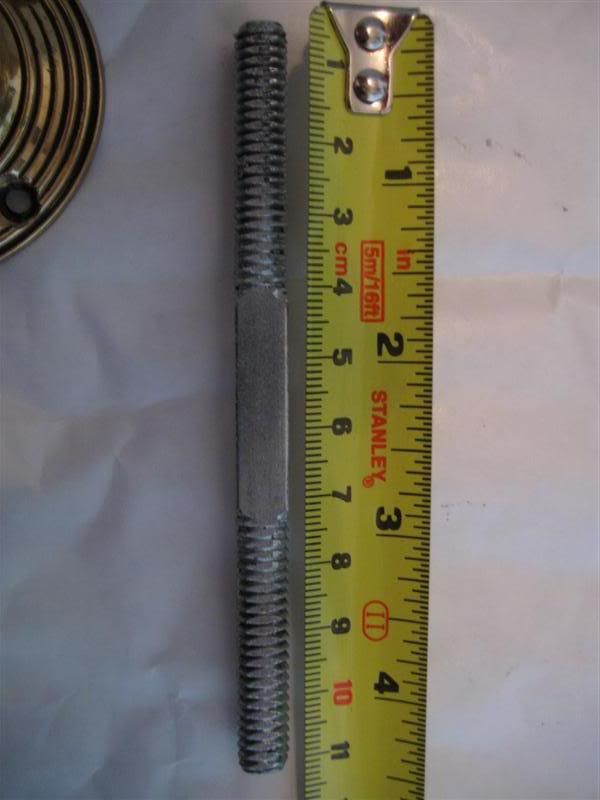
The new spindle was a little over 11cm long, more than enough to fit the door.
Here’s one of the doorknobs, with its roseplate, mounted on the spindle – you can just see the grub screw through its access hole, securing the doorknob to the spindle. It fits in the notch of a groove running the length of the spindle.
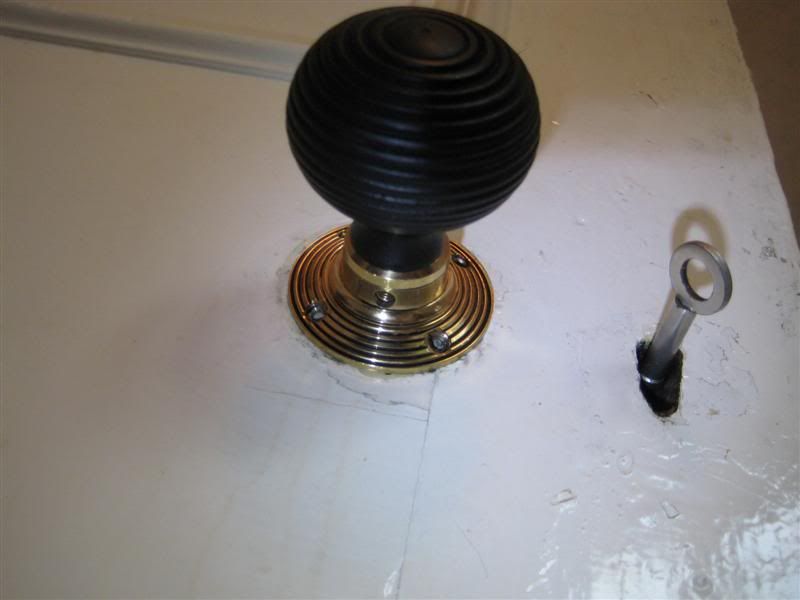
With this side secured to the spindle, I popped it on the door, and screwed the other doorknob and roseplate onto the other side until it was snug against the door. The photo below shows the unsecured side. I took this shot from below – you can see the grub screw and roseplate screws not yet in place. I wanted to mount the doorknobs with the grub screw access from the bottom, so you don’t see it during normal use.
With the doorknobs in place, all that was left was to drill holes into the door for the roseplates to screw into. So everything would line up right, I got a dry eraser marker and drew an outline of the roseplate...
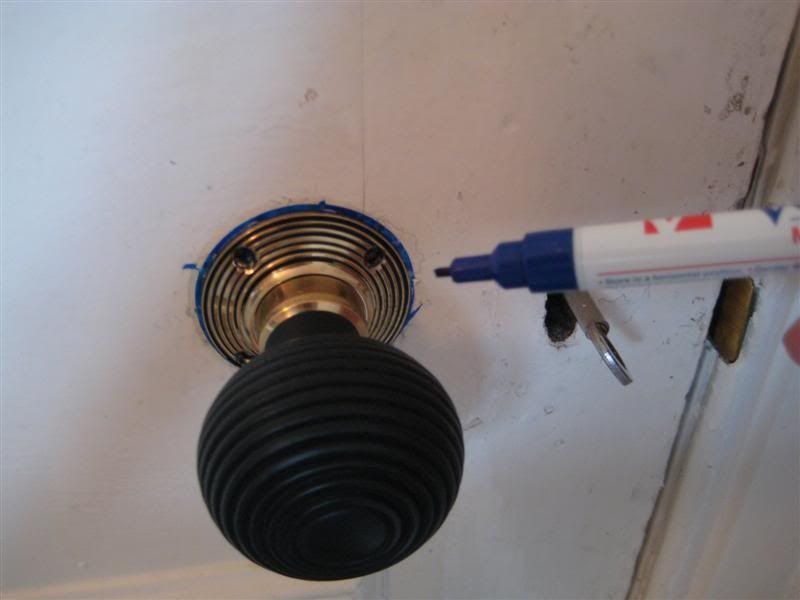
... and marked the correct position of the screwholes.
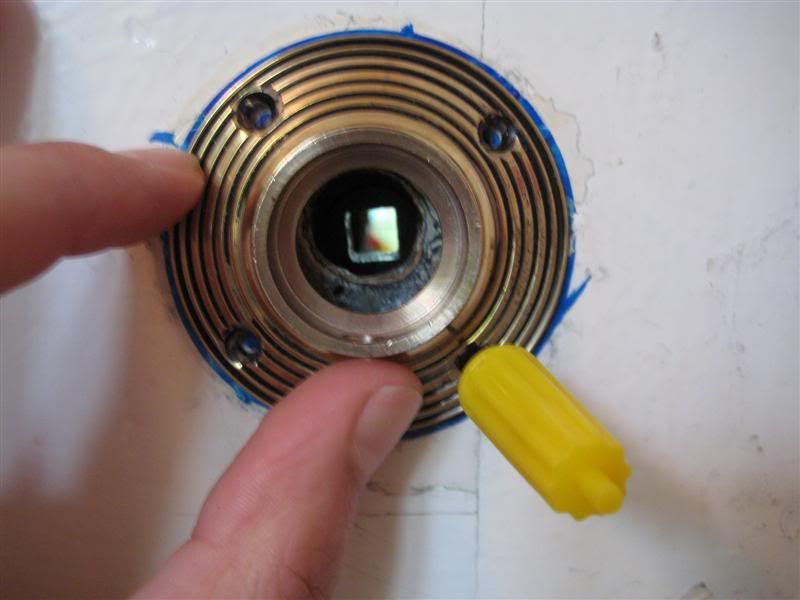
That yellow thing is a little hand drill from an inkjet printer refill kit. The screws for this roseplate were to enter the door at an angle, and I didn’t want to use a powerdrill in case I messed it up for want of fine control.
As it happens, what I thought was a dry eraser marker turned out to be a permanent CD/DVD marker pen. It took several coats of paint before you couldn’t see the blue outline anymore. D’oh! The photo below shows the screws in place – notice they sit flush with the slope of the roseplate, not the door:
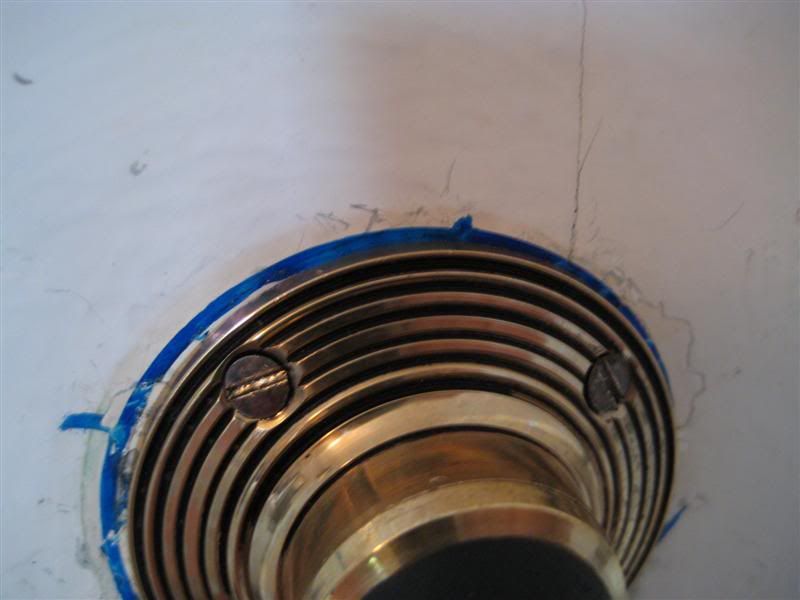
These brass screws came with the doorknobs, and have been given an aged look that can be polished off. To my eye they look fine as it is so I left them the way they came.
No comments:
Post a Comment
Comments seem to be working okay again. You can try leaving one, it might work! If not, you can reach me on twitter if you like @Flounder_FPN