Revision - Have a good look inside the shell, I'm not sure all Targas look like this one inside. Apply sealant anywhere there is a visible join between the metal, plastic, and the membrane between them. In the cavity shown below, look for two metal tabs, on either side of the wall, and for a strange V shaped channel I'm sure I've seen too. Seal them all, don't skimp! I find that a propelling pencil lead dipped in a drop of sealant is good for reaching these awkward areas.
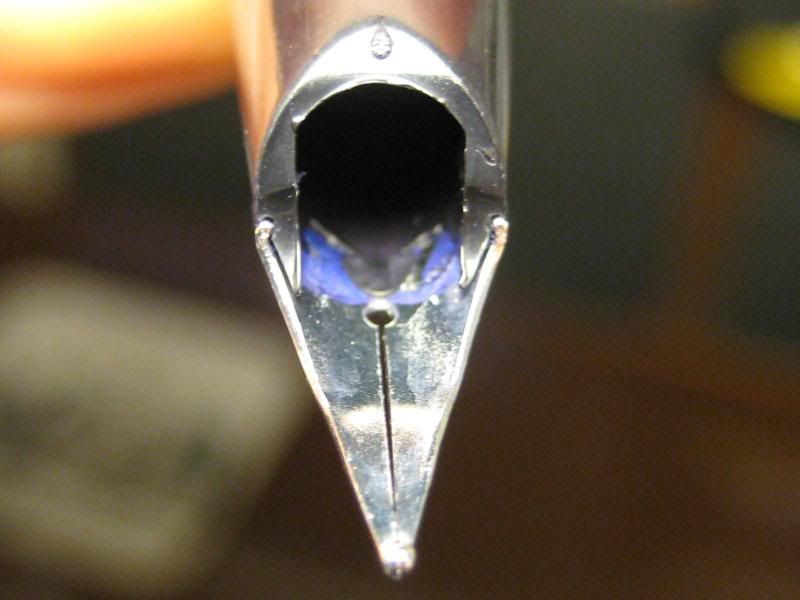
This shot shows a curious close up of the nib without the feed, gasket &c. Notice that curious blue area? Surely no ink could have been left behind, after all that flushing? Even the feed was bone dry. A cautious probing with a wooden toothpick revealed this to be some sort of cellophane layer, sandwiched between the steel nib and the plastic housing. This was damaged on one side but its not clear to me how this could possibly have happened. You can also see that the inlay is covered by plastic a short distance in from the tines. My goal was to see how good this stuff really was. I only applied sealant to this area, not the outside of the nib unit you can see as you write. Anyway, on we go. Time to look at Captain Tulley's famous Creeping Crack Cure.
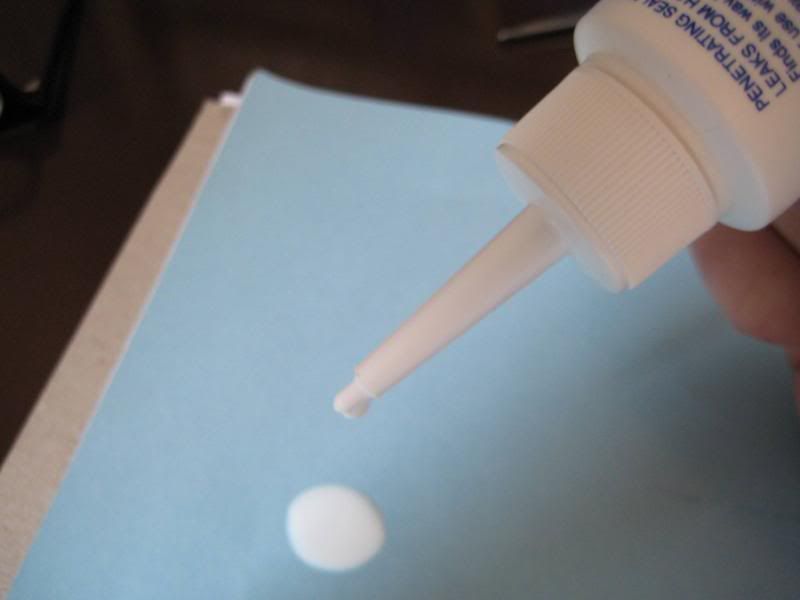
I did some research on this stuff after reading the Pendoctor's article. Apparently its great for boats and leaking Volvo windshields. These are pretty challenging areas so I've got faith it will do the job in the more sedentary role of pen leaks! This photo represents me trying to be clever and working out how much comes out of the bottle in one drop. After all the nib is pretty small and I didn't want to soak the thing in sealant. The camera was on multi shot for this pic, not a single one showed a droplet in mid air between the bottle and the page. I used more sealant up doing this than during the repair! It comes out of the bottle in big fat drops that aren't really suited to this kind of work at all.
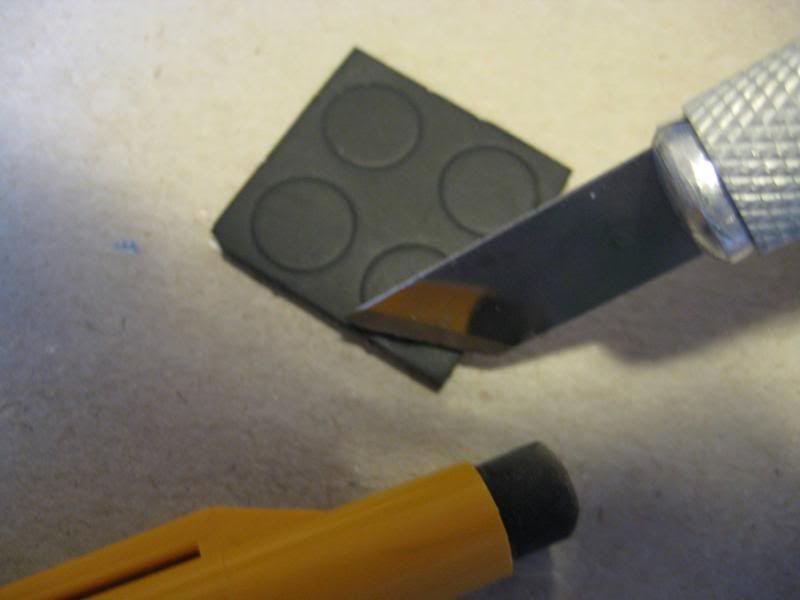
With this in mind, I started searching for something to plug up the hole before the tines separate, in case sealant got between them and ruined the pen forever. I thought about using a blob of blu-tack first. Then I thought, I can just imagine all the veterans howling in indignation. "BLUTACK! You should never use blutack on a nib. It will transmogrify the tines! Only ever use cyan tack, available from blah blah". In the end I cut a tiny piece of rubber and put it in the hole. I expect a piece of pencil eraser would be fine too.
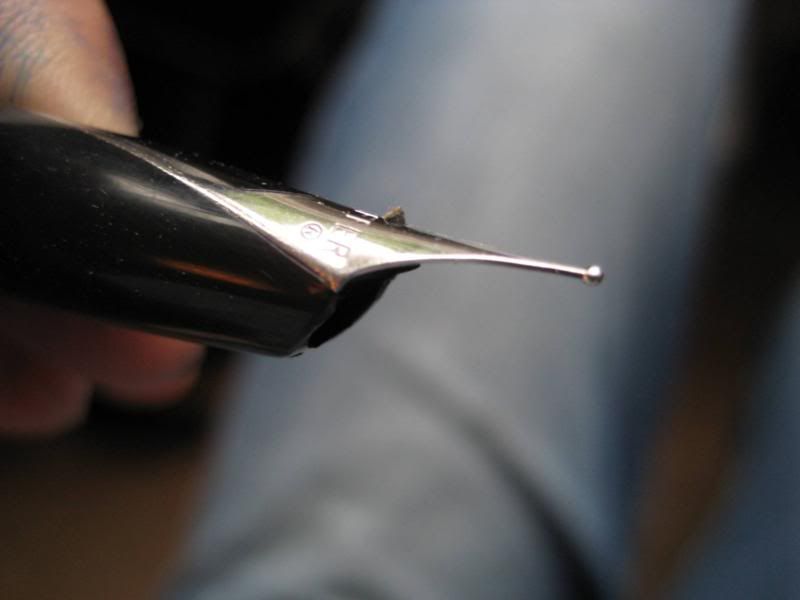
This photo shows a top view of the rubber bung in the hole before the tines (is there a special name for this hole?)
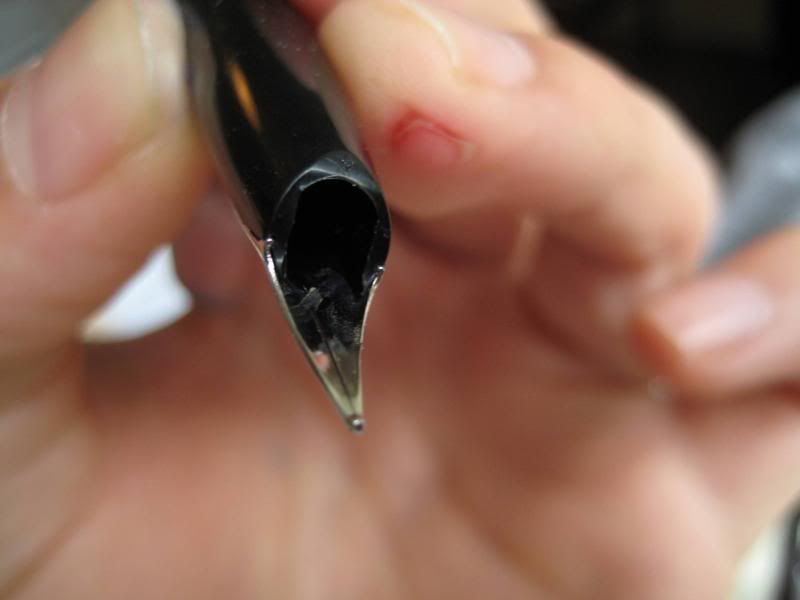
Here is a badly lit picture of the rubber bung viewed from below. I had the perfect thing to light this, a tiny bulb wired up to a 9 volt battery I use to inspect my car's horrible rear drum brakes. It would have fit perfectly in the nib, but I couldn't find it :-}
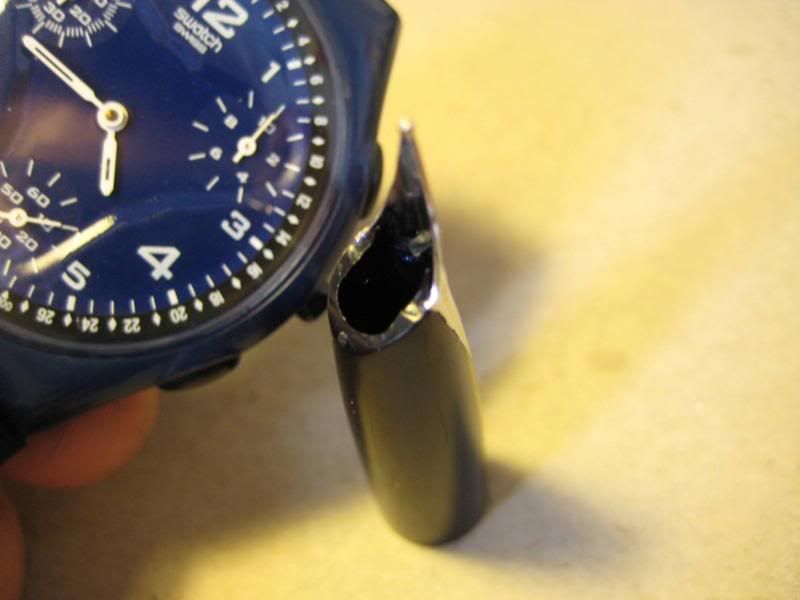
Here's a shot that hardly shows what's going on! Just after the first application of Tulleys, which was extremely difficult. I used a damp cloth immediately after to soak up spills, as per the instructions. Its a half hour between coats.
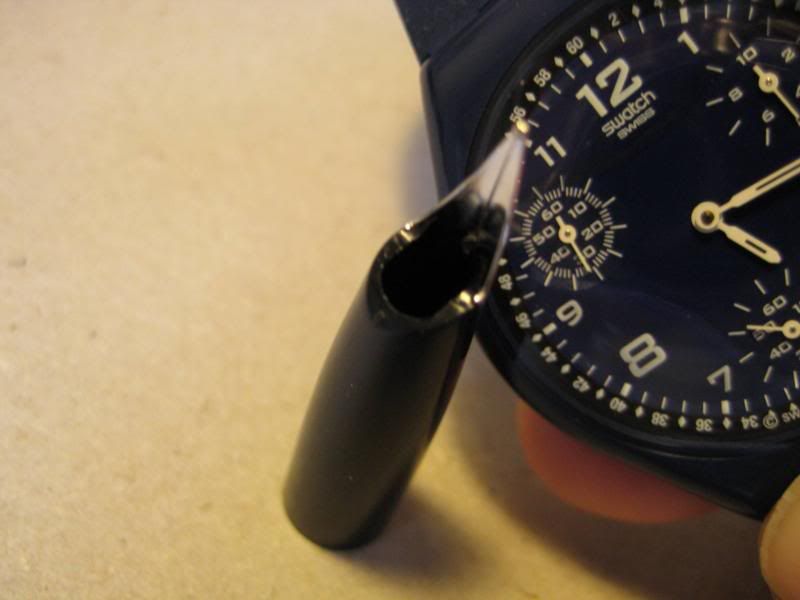
After 30 minutes it was time for the second coat. During this break I was racking by brains trying to think up a better method of application. It hit me all of a sudden, like a slap to the face.
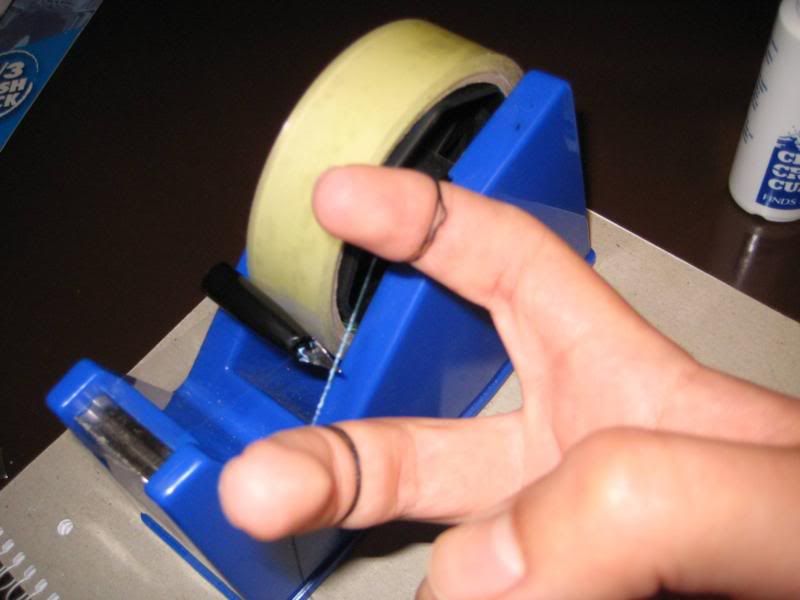
Introducing a method I call the 'Flounder Floss'. I wrapped a length of thread around my fingers, and dripped a little sealant on the thread. Now it was easy to be very, very precise about introducing a tiny amount of sealant to the very edge where the nib meets the plastic, keeping the thread taut between the fingers. This shot was pretty tricky to take!
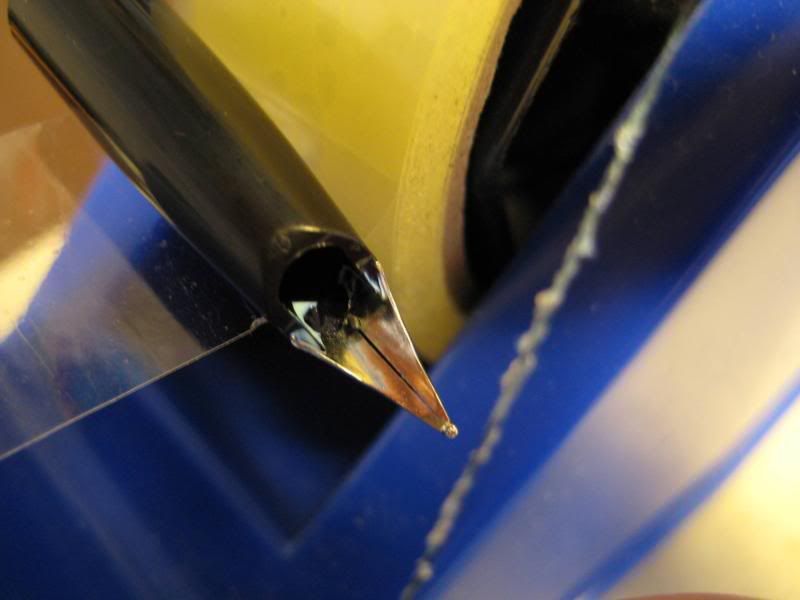
This close up shows how a little sealant applied to the edge finds its way to the rest of the nib/plastic lip. It sets clear, by the way.
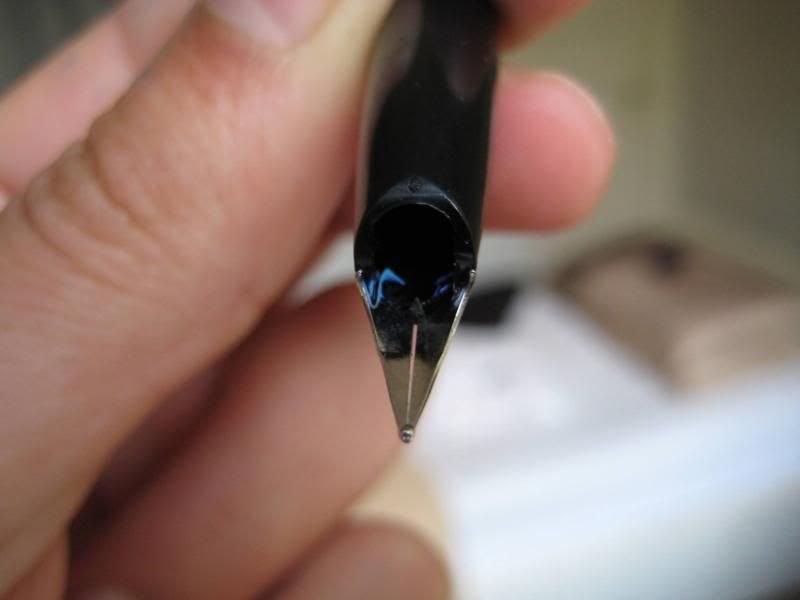
Another photo of how the Flounder Floss results in a very neat application. I really am quite frightfully clever. (ducks punches)
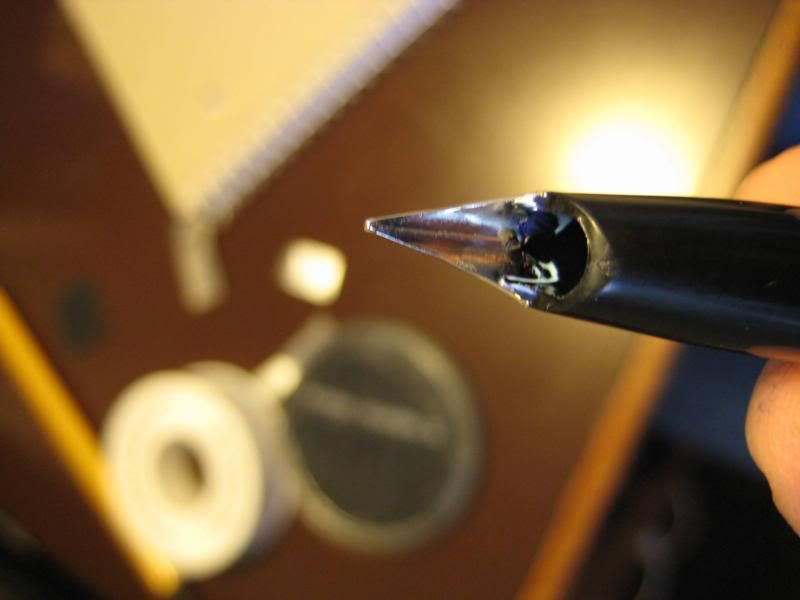
I did about 6 applications, 1 every half hour. Then you wait 24 hours, and start again. I did this over the course of 3 days, it's quite labour intensive.
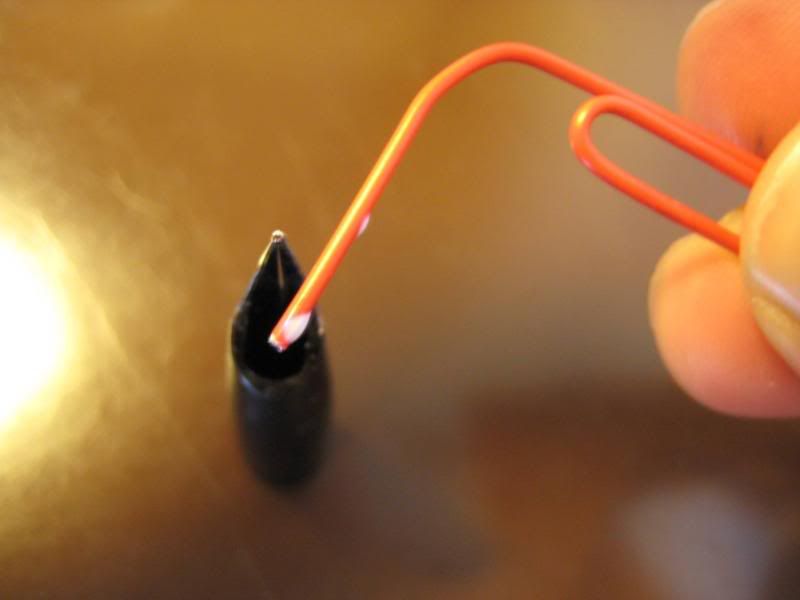
For the very centre of where the nib meets the housing, I started getting paranoid about whether enough sealant was reaching it. I used a bent paperclip to apply to this area, as a big enough droplet wouldn't adhere to a needle. To be honest though, i think I was going overboard at this stage.
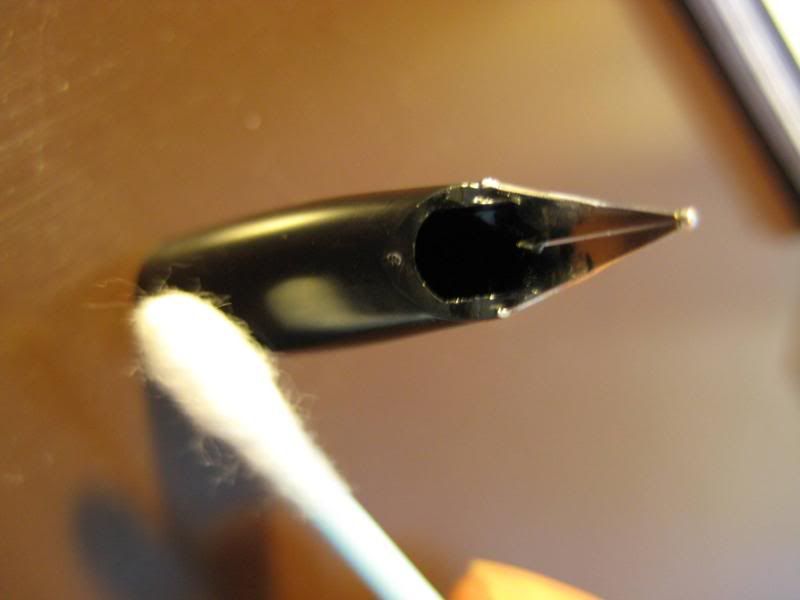
I occasionally stuck this earbud (q- tip, language fans) in the rear of the nib housing and gave it a swirl, in case the sealant ran unexpectedly too far down and messed up the space for putting the feed back in. I don't think this would have actually happened but you never know!
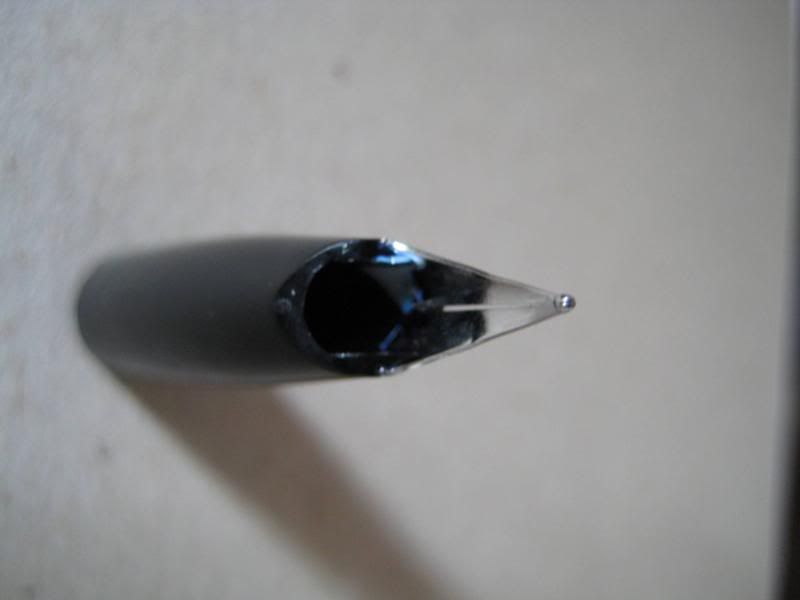
This photo shows the penultimate coat today. I have no idea why I took it beyond the fact I was getting used to taking photos of everything I did :-B
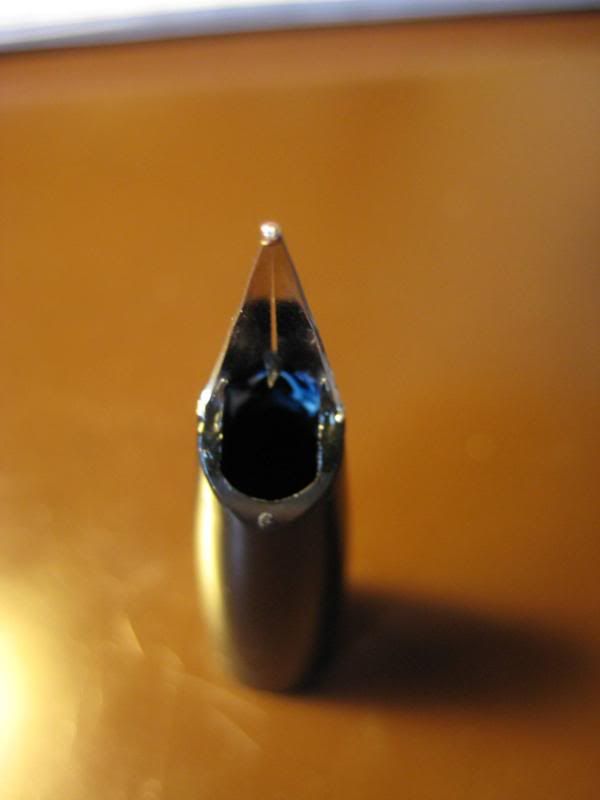
This is an okay shot of how the sealant finds its way from the outside edge in. You can just see the rubber bung protecting the tines from clumsiness.
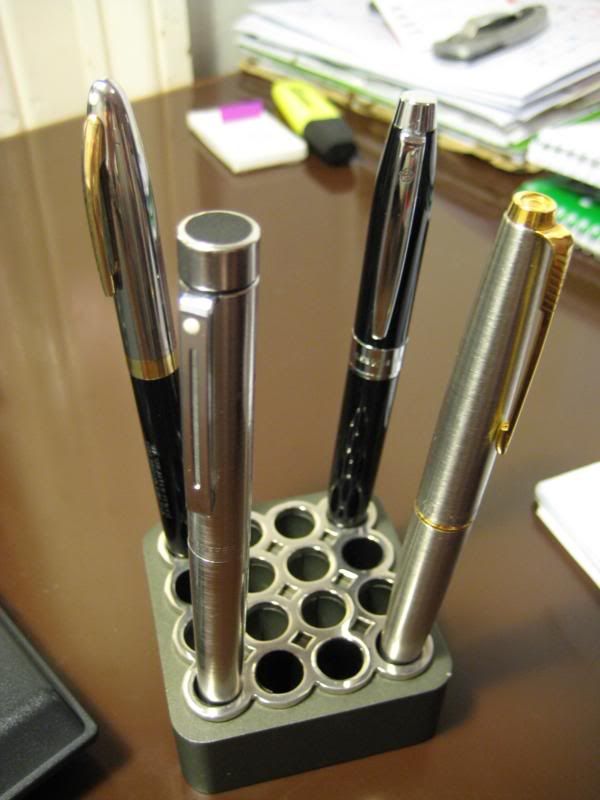
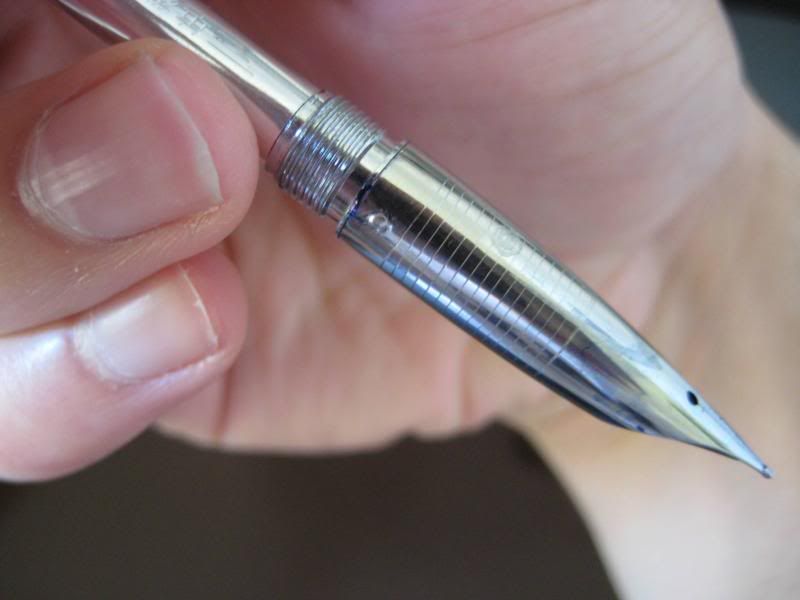
So, duly reassembled, here's the Targa on my desk for a change, instead of in bits in a drawer, where it's been since my exams finished. I tried it upon reassembly and no leaks, but of course the real test will be over a week or so of use. If I've not bored you enough by now, stay posted! [update: it doesn't leak at all]
Based on tonight's use though, I'm very encouraged, because it was leaking on my fingers as soon as I picked it up before. I'm also really happy that this is an 'invisible' repair, there's no unsightly stuff to apply to the outside of the nib you see every day. This has given me the confidence to finally tackle my Hero 849 that's leaking too!
Revision - as a further update, this pen did eventually leak again, though with far less severity. That was the driving force for these revisions, to come up with a more robust solution to the problem. For the outside of the shell, I used a propelling pencil lead dipped in a tiny drop of sealant, always starting from the corners of the diamond and tracing them outwards for neatness.
No comments:
Post a Comment
Comments seem to be working okay again. You can try leaving one, it might work! If not, you can reach me on twitter if you like @Flounder_FPN