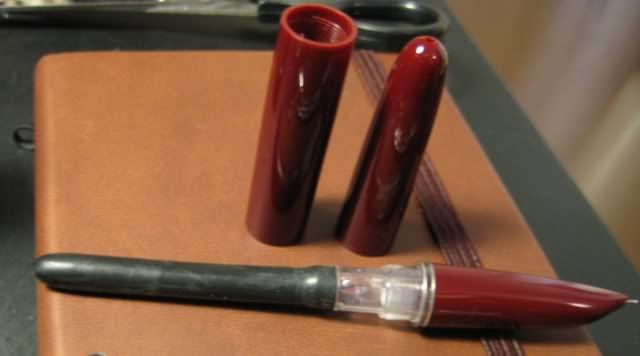
I removed the old ink sac after cutting a split down the side of it. I'm convinced some sort of glue was used to originally secure it, as heating the sac nipple had no loosening effect whatsoever. With the ink sac removed, you can see the 616's breather tube. It extends from the nib's feed at an angle, so most of its length sits close to one side of the sac rather than its centre. I kept this in mind for later on, so as to position the pressure bar in a way that minimised flexing the breather tube during operation of the filler.
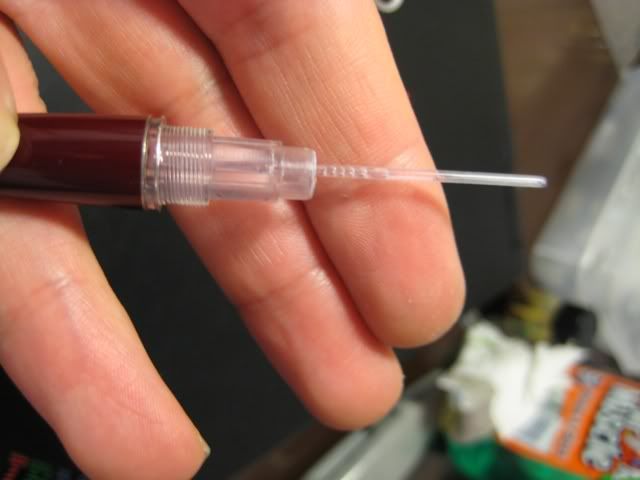
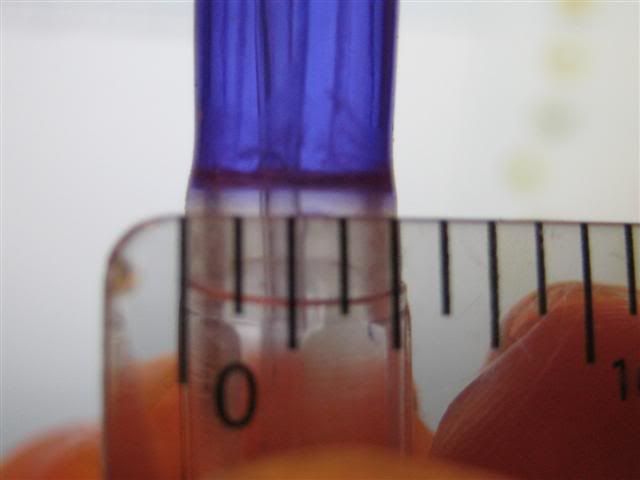
The latex ink sac attached to the pen. I cut this sac the same length as the old silicon sac had been - about 5 centimetres. Then I shellaced the sac nipple and pushed the sac into place, and left it to dry.
If you've enjoyed reading this how-to as much I have writing it, stop by next time for the business end of this modification, converting the press bar assembly to a button fill assembly.
No comments:
Post a Comment
Comments seem to be working okay again. You can try leaving one, it might work! If not, you can reach me on twitter if you like @Flounder_FPN