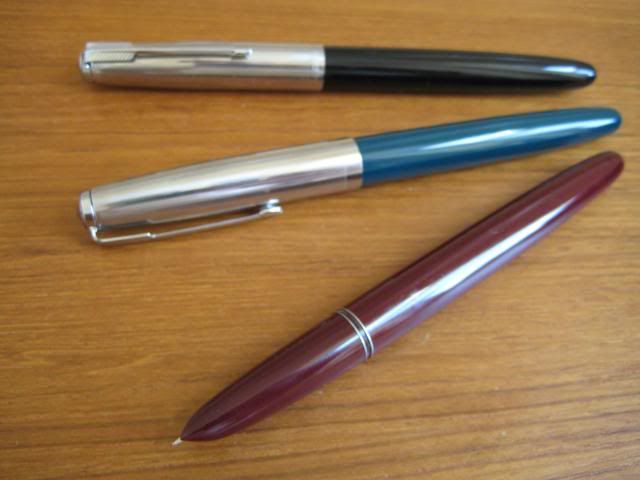
The recent spate of excellent and informative posts on the Hero 616 prompted me to buy a 3 pack of the 'jumbo' size pens from eBay seller Yespen, in black, burgundy, and bluey-green. After the much appreciated efforts of members here, I'd like to contribute with a "tweak the cap to fit properly" photo set. I've tried to make this less long winded than my usual sagas.
Of the 3 pens I bought, only the green 616 had a cap that functioned the way I expected it to when capping onto the body, the cap clutch locking positively between the metal rings on the body of the pen. The black and burgundy pens had caps that just jam onto the pen without the clutch fingers reaching the rings. After reading reviews by Nihontochicken and Dillo, I realised that quite a few of these pens must have problem caps. It's a case of excellent design and variable execution.
The really good news is that the problem is easily fixed - nothing to do with the clutch fingers in the cap, or the rings on the body of the pen. The culprit is the plastic inner cap, made to poor tolerances. On my black and burgundy pens, the lip of the inner cap needed to be honed out a little, to allow the pen to go further into the outer cap, allowing the steel clutch fingers to do their job and reach the metal rings on the pen body.
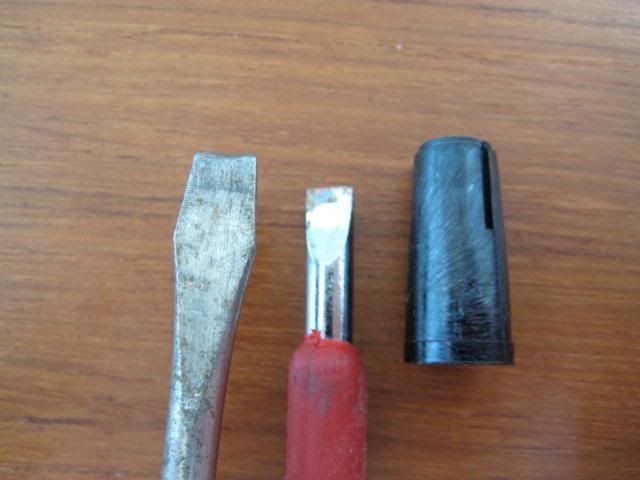
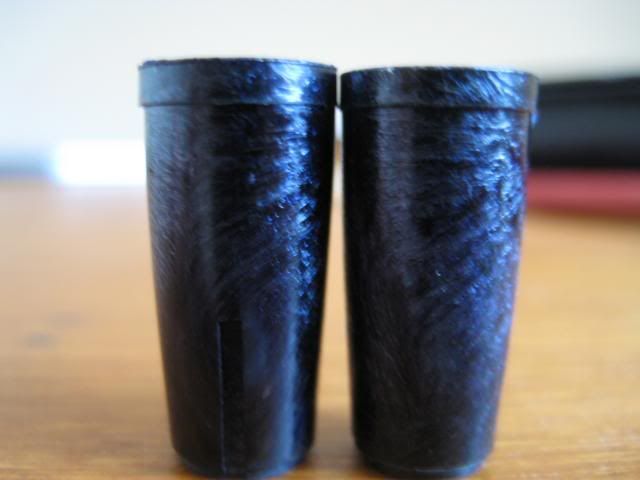
Below, my 616's, ready for tweaking. You can see the metal rings on the burgundy one...
... and the 5 clutch fingers inside the cap:

Diagnosis
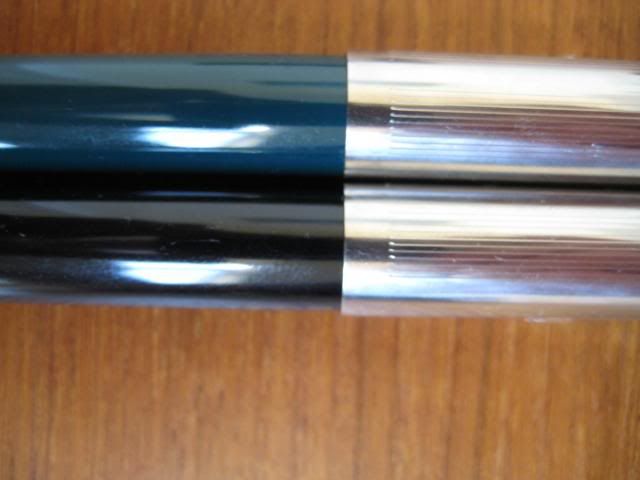
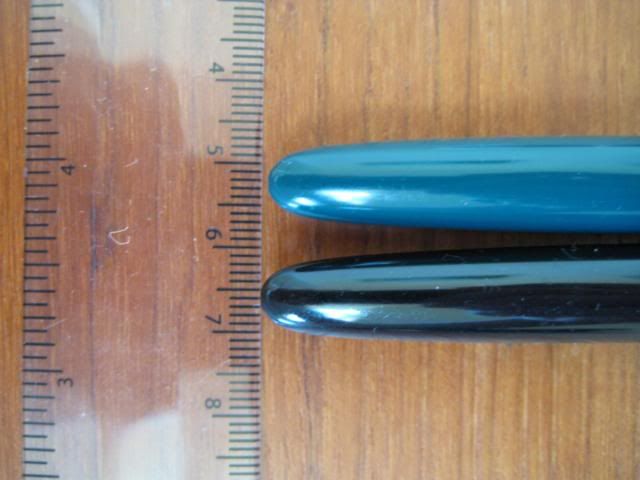
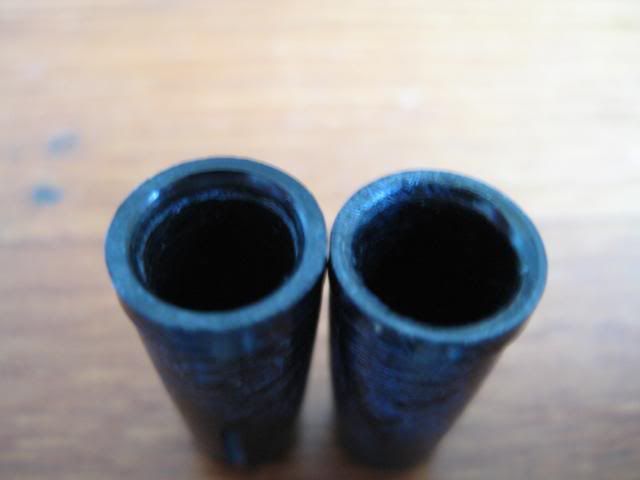
I could see and feel the difference between the good green pen's cap and the bad black and burgundy's caps. Capping the green pen is a smooth action, with progressively more tension, until the clutch fingers snick-snap into the recess between the metal rings of the pen body. In the two photos below, you can see that with the green pen and the burgundy side by side, the green pen extends further into the cap.
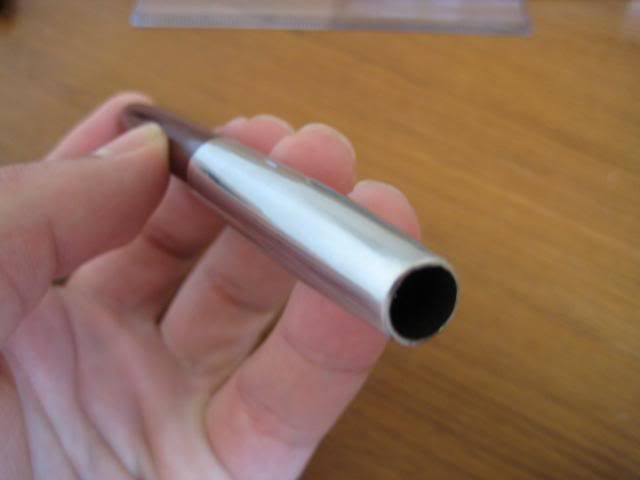
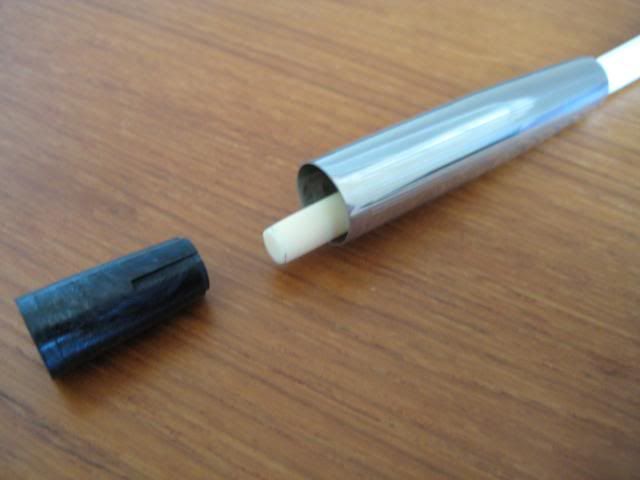
If all your Heros have caps that just jam on, you can get a feel for how they ought to behave by removing the inner cap from the outer cap, and putting the empty outer cap on the pen. You can then feel the clutch fingers snick into the metal ring area on the barrel. In this way, you can also gauge how far down the pen body the cap should travel after this fix. Here's a photo of the cap on the burgundy 616, sans inner cap, clip, and jewel.
Disassembling The Cap
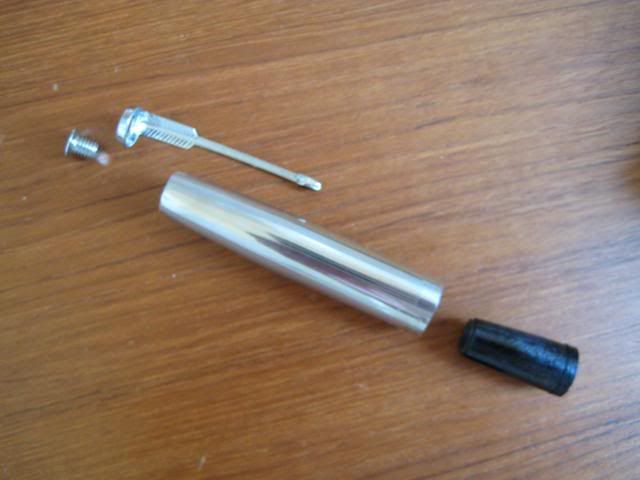
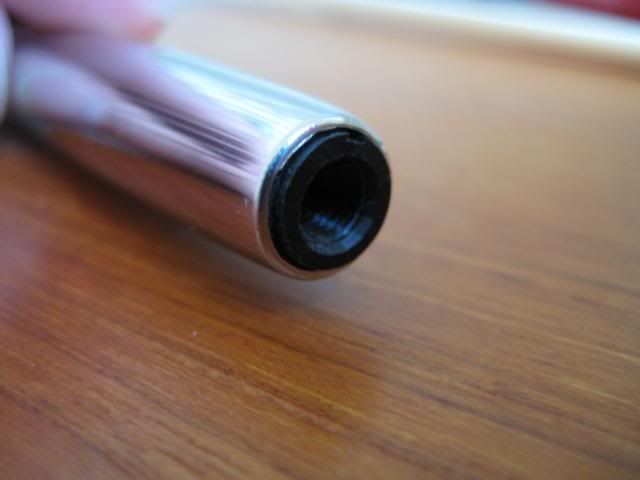
Thanks to the guide provided by Yespen, and brought to my attention by acoobradovic, taking the cap apart is a doddle. Pop a flathead screwdriver up inside the cap, hold the clip in place so it doesn't rotate, and unscrew - a 5 or 6mm head seemed to be best, see photo below.

Also, most screwdriver heads seem to flair in a way that prevents them going all the way into this inner cap, and most of those change-the-bit types are too thick as well. In the next pic, only the red screwdriver reached the slot in the inner cap.
The cap in pieces. Jewel, clip, body, inner cap.
If the inner cap doesn't want to leave, poke it out the bottom with a chopstick or similar.
I took a few close up shots, comparing the "bad" inner cap of the burgundy 616 - on the left - and the "good" inner cap of the bluey-green 616 (on the right).
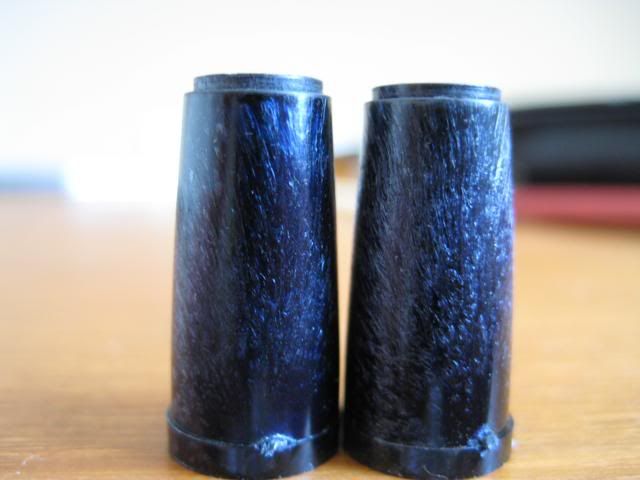
The outer dimensions of the burgundy's inner cap seem larger.
The internal lip seems less spacious too.
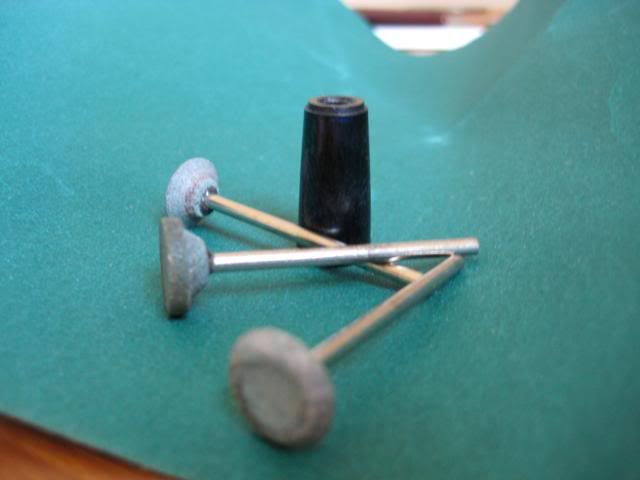
Tweaking the inner cap
To hone out the inner cap's cavity lip a little, I used a mini drill and various head attachments [edit - it wasn't any of these attachments, they're too big!]. The burgundy's inner cap needed honing a lot more than the black pen's.
As a rough test of whether enough has been ground out, pop the inner cap into the outer cap, and slide it onto the pen to see whether the cap fingers can reach the barrel rings - no need to screw everything back together each time you check.
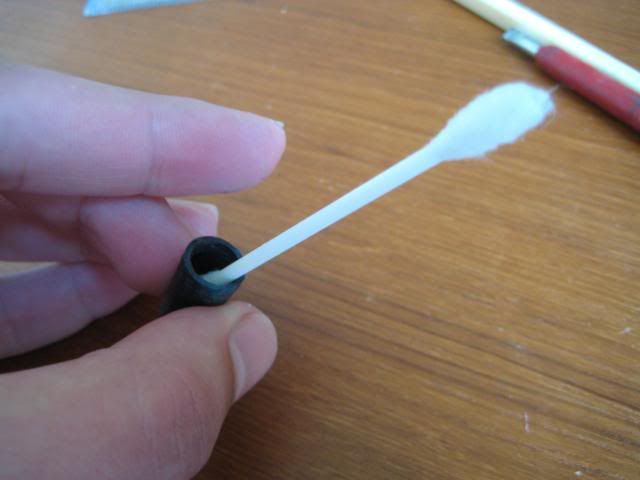
Cleaning out the swarf (it is soft plastic and very easy to smooth):
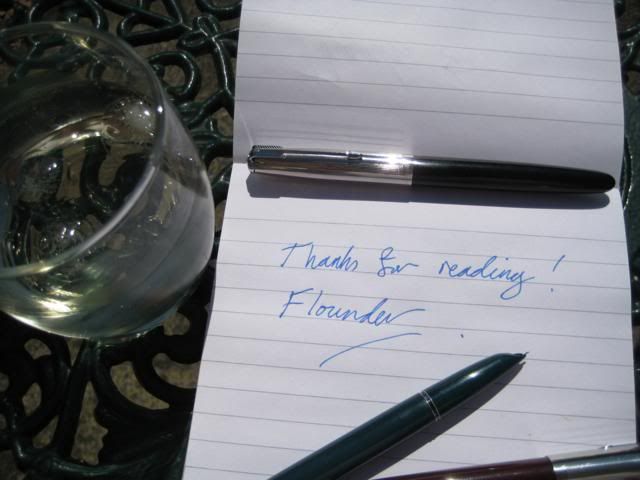
After all that, time to enjoy the summer sun with your freshly tweaked 616's and a relaxing whisky & soda.
A suivre - converting the much maligned press bar filler to a button filler.
I have some 616 on the way, so I am eager to try your fix should I have the same problem.
ReplyDeleteThanks!
Thanks for the tip on removing the inner cap. I was unable to move mine sufficiently with a screwdriver so I ended up (carefully) using a straight-sided easy out.
ReplyDeleteSteve