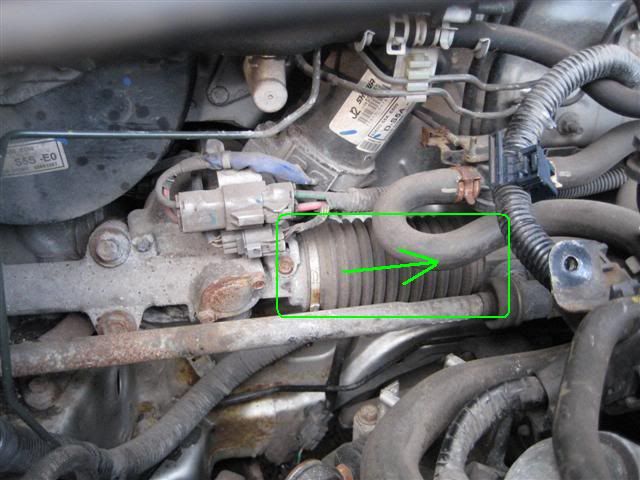
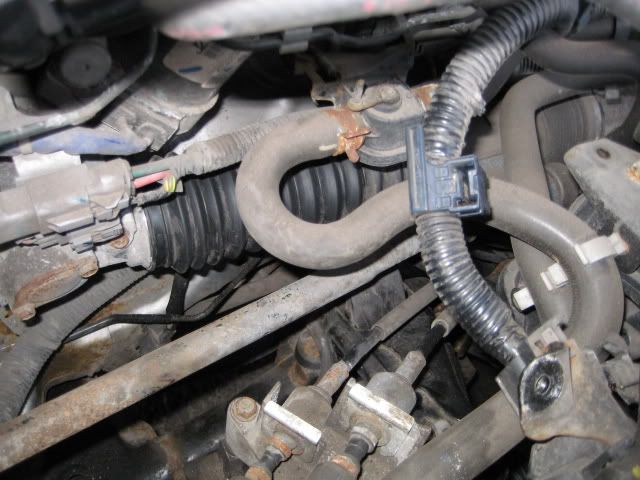
To give an idea of what is to follow, this photo shows the driver's side accordion gaiter, and the direction to push it after the band has been removed.
It was handy to keep in mind that with the steering at right full lock, the guide moves along the slider and the driver's side accordion gaiter is elongated, and the passenger side compressed.
You guessed it - at left full lock, the driver's side gaiter is compressed, and the passenger's side elongated.
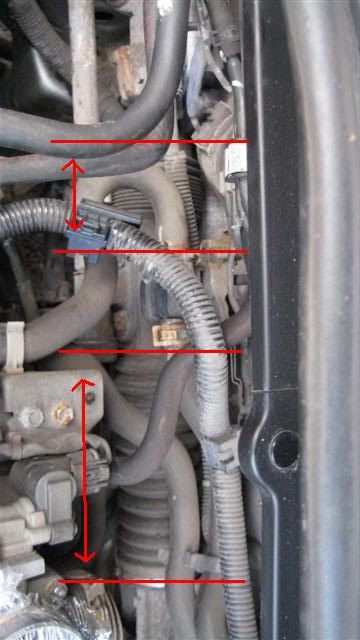
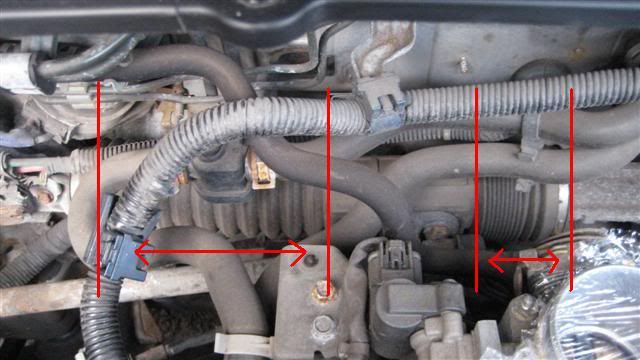
You can see in the two photos above that having the steering at right full lock will help expose the most of the slider area, and having the steering at left full lock will make pulling the gaiter back into place easier when the driver's side greasing is finished.
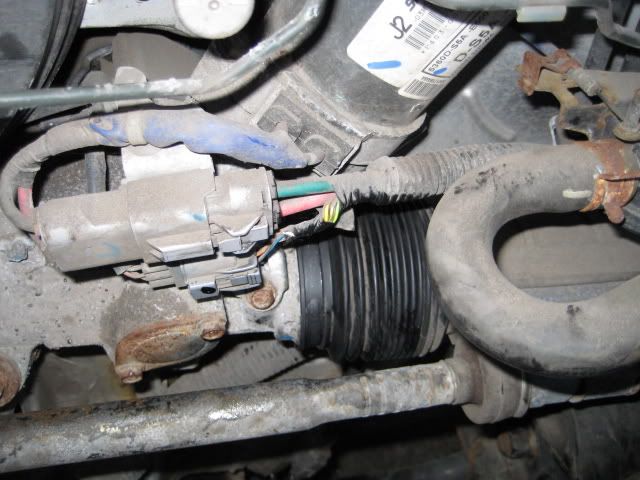
Regreasing the Driver's Side
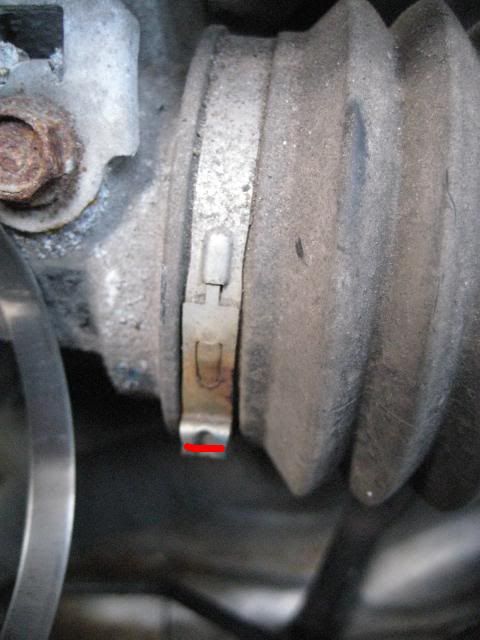
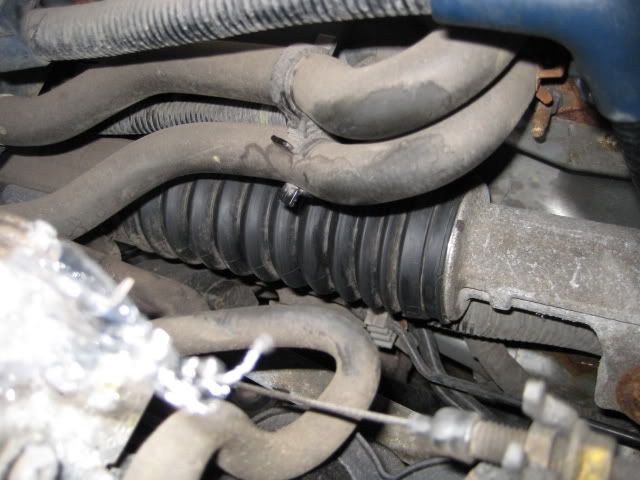
Moving on, I cut the bellows band off. The red dot shows the safest place to use the cutters, avoiding the rubber gaiter.
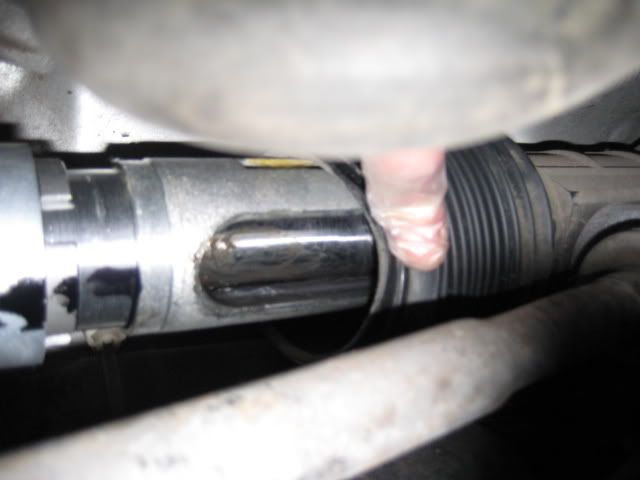
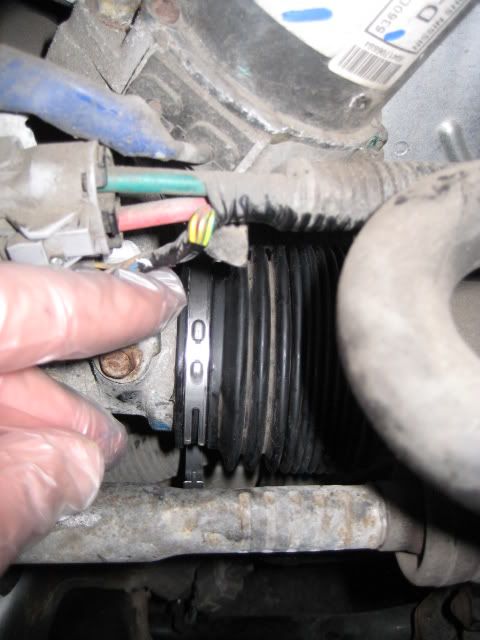
Before exposing the inside of the rack, I gave the gaiter a clean to minimise dirt & grit ingress.
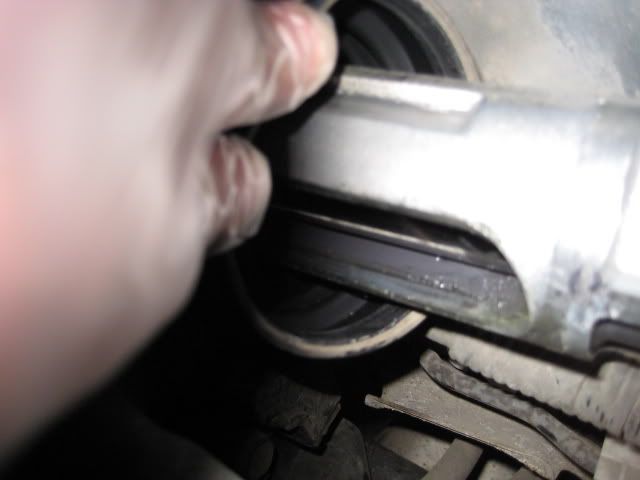
So this is the inside of my steering rack at 63,000 miles. Nothing on the edges of the rails, and what little grease I could find had been left at the end of the slider's travel. I stuck my fingers inside till I hit what was presumably the slider guide, there was nothing there either.
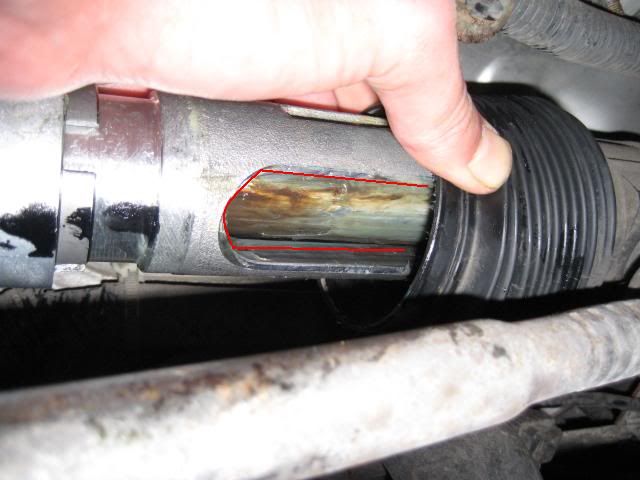
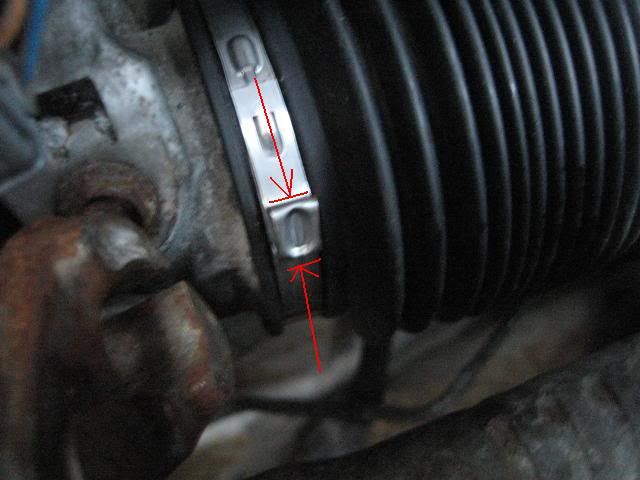
I gave the inside a light coat of grease. The red line shows what I took to be the most important area, the edges where the slider guide rubs against. then I moved the steering back and forth several times to distribute the grease evenly.
Then I thought, instead of all this faffing about, why don't I just put loads of grease in there, turn the steering wheel from lock to lock, then clean off the excess?
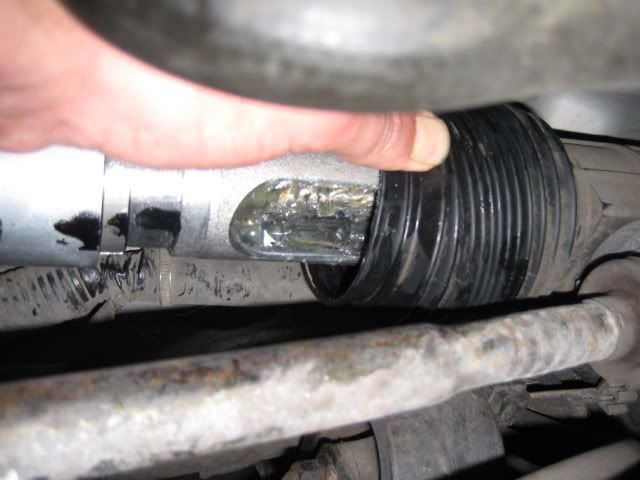
After cleaning the excess grease off, and making sure there was none on the rubber gaiter, I turned the wheel to left full lock, and pulled the rubber gaiter into place ready for a new bellows band to hold it in place.
About to clip the bellows band (this side is the smaller diameter bellows band) into place...
... After the band was clipped on, I crimped it tight.
Regreasing the Passenger's Side
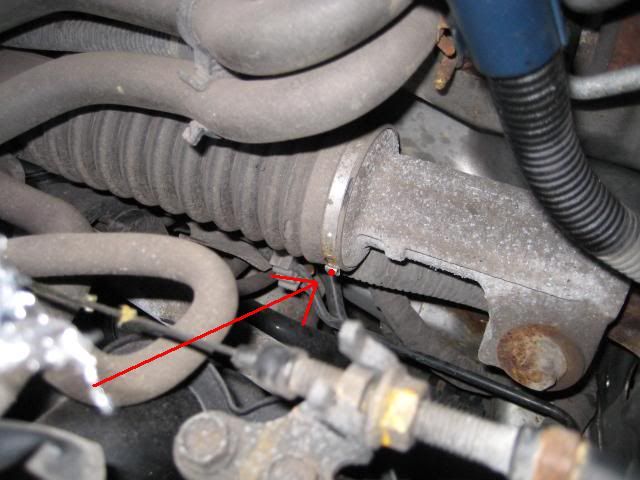
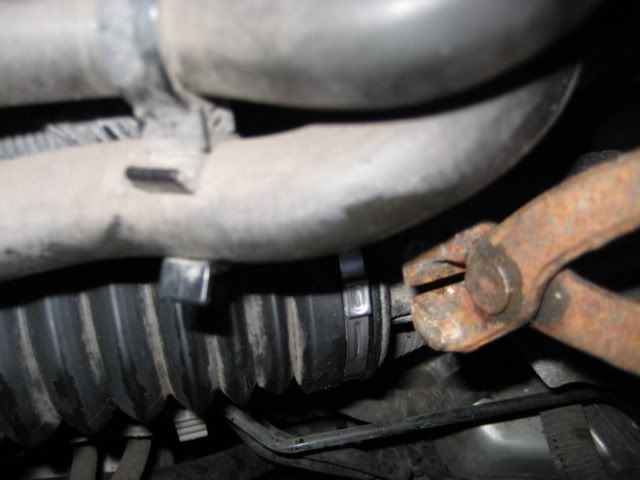
There are more obstacles in the way on the passenger's side, and less space to get cutters in there to get rid of the bellows band. The arrow in the photo points to the cutting area. If the band had been put on with the raised cutting portion rotated to face further up, it would have been much easier to do!
As before, I cleaned up the gaiter before exposing the rack within.
Hmmm... not much lubrication on this side either. I put a fair measure of grease in there, turned the steering back and forth a fair bit, and cleaned up in the same fashion as I did the driver's side. It was starting to get a bit dark.
Crimping a fresh bellows band (this side is the larger one) into position.
With the rack regreased, and the sky darkening, it was time to get the resonator and air box back on the car. My final post on this will cover reassembly.
No comments:
Post a Comment
Comments seem to be working okay again. You can try leaving one, it might work! If not, you can reach me on twitter if you like @Flounder_FPN