 |
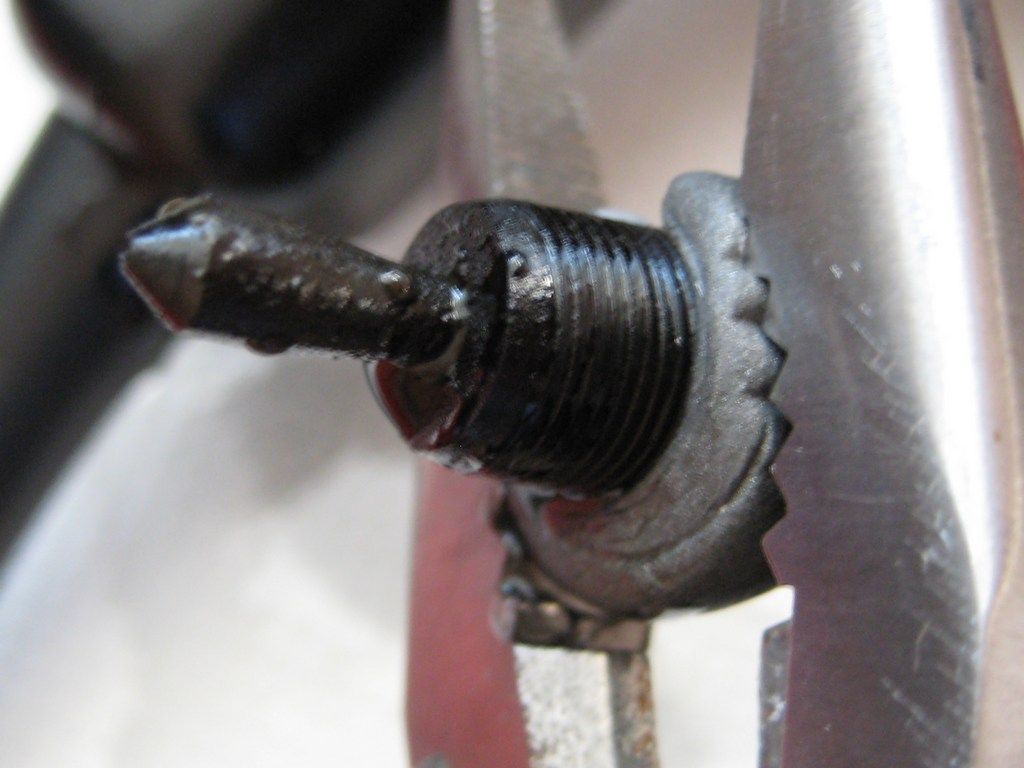
| Ta-da! The BHR threaded boss safely removed from the pen's barrel. The ink shut-off stopper looks to be well preserved. |
It works! The cast metal epoxy putty C ring made disassembly a breeze - having a tool which matched the pen's threads so precisely was a great help; the pliers' clamping load was well spread, and only a slight, steady pressure was needed as I rotated the barrel.
What It Is
A disposable C ring intended to safely manipulate the threaded boss of the proprietary fillers in obscure fountain pens, for the duration of a single restoration.What It Isnae
A substitute for inexpensive, quality tools made available by Dr. Oldfield of penpractise.com, among others, to open the bosses and fillers of more widespread, top flight vintage pen brands.Casting the C Ring
To make sure the epoxy wouldn't bond to the boss whilst setting, the threads got a coat of red rubber grease, followed by a single wrap of teflon tape. RRG helps preserve and lubricate rubber; I used it just because it's rubber safe like silicone grease, easier to see, and easier to wash off after use.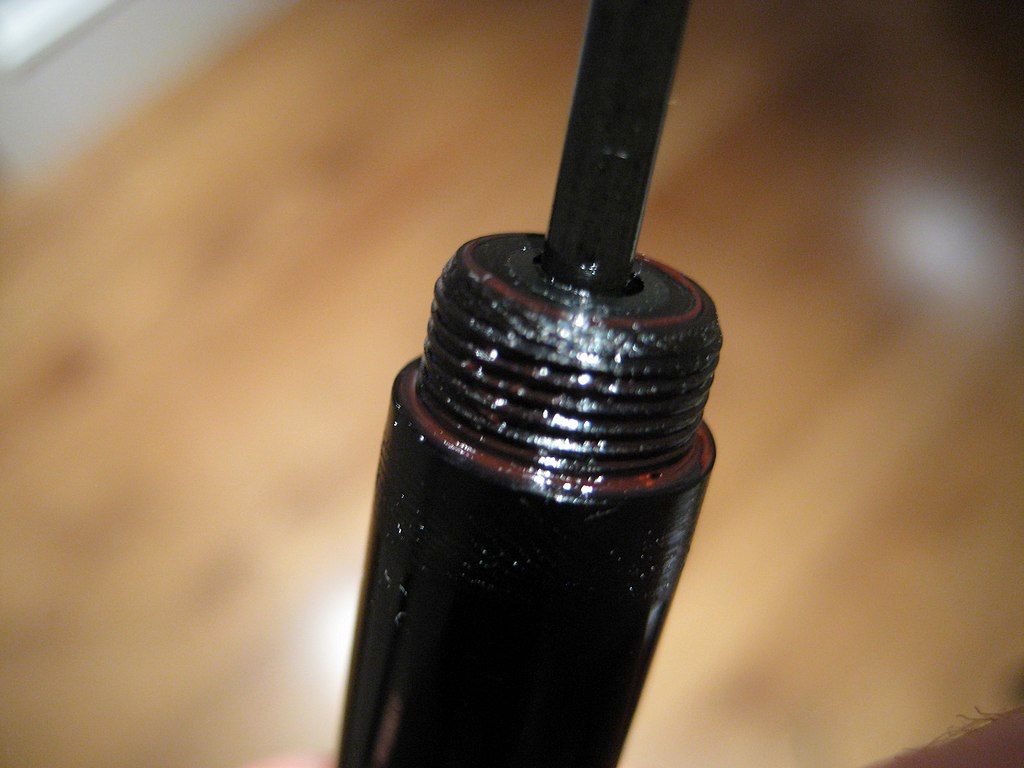 |
| Red rubber grease on the boss... |
As well as acting as a secondary epoxy barrier, the RRG helped keep the teflon tape in place as it was wound around the boss. I only used a single wrap of tape round the boss' circumference, so that the epoxy could take as sharp an impression of the threads as safely possible.
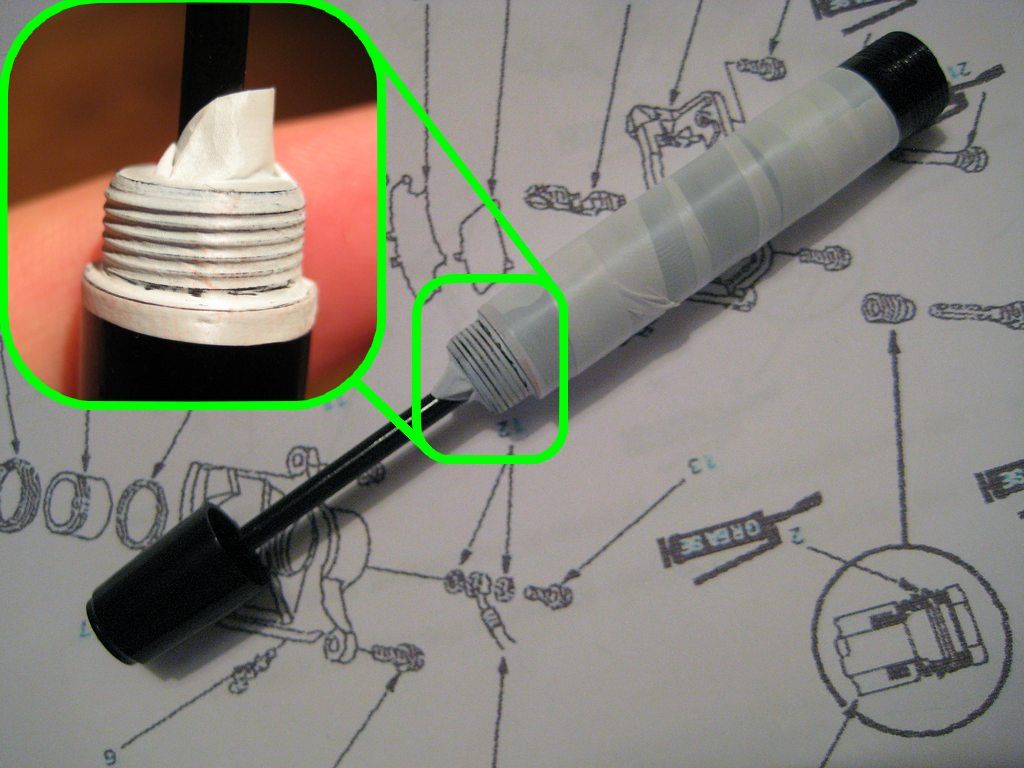 |
| ...Followed by teflon tape (plumber's tape). |
Winding an extra length of teflon round the entire barrel reduced the risk of getting extraneous bits of epoxy on the pen as I manipulated a blob round the boss' threads. Safety first!
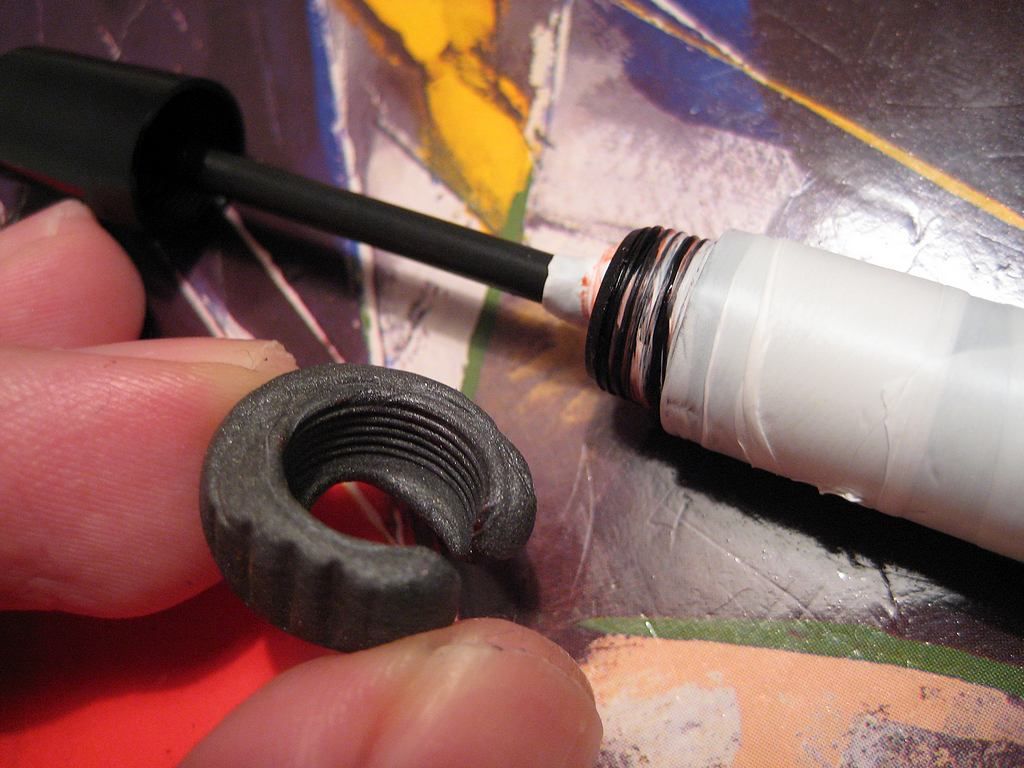 |
| A C ring tool after casting. This one got an exterior impression of the plier teeth, as well as an interior impression of the boss threads. |
The metal epoxy putty used was Evo-Stik Hard & Fast. You chop off a slice, mix the two colours together until uniform, and "within 2 minutes of mixing, apply to surface pressing firmly". I found that powderless disposable vinyl gloves worked best for this, one pair to mix the stuff, another to apply the epoxy to the threads. Latex gloves tended to stick to the putty during last week's tests. Leaving it longer than two minutes made it easier to form a C ring as the stuff became stiffer, and more difficult to get a good thread impression for the same reason. Stick to the 2 minute rule!
The photo above shows a C ring tool shortly after casting (the epoxy is fuilly cured after an hour). It took a good, clear impression of the threads, taking some of the teflon tape off as it was unscrewed from the boss. Cleanup was with a ph neutral, fragrance free soap and a soft child's toothbrush, brushing along the threads rather than across them.
Using the C ring to remove the threaded boss from the pen's barrel
Not knowing if the boss was left-loosey or not, I wanted to make sure resistance from other factors was kept to a minimum. This meant the usual dry heating, and also some glycerine tipped into the barrel, to hopefully act as a "rubber safe, better than nothing" penetrating fluid (the pen was orientated nib-up as removal was attempted). Between the heat, C ring and glycerine, the pen-gods were appeased, the boss simply gliding out of the barrel on a standard lefty-loosy thread with the C ring lightly clamped around it, and smooth section pliers rotating the barrel in the heat stream of a hairdryer. After all that preparation, it took less than 5 minutes! Talk about an anti-climax!
 |
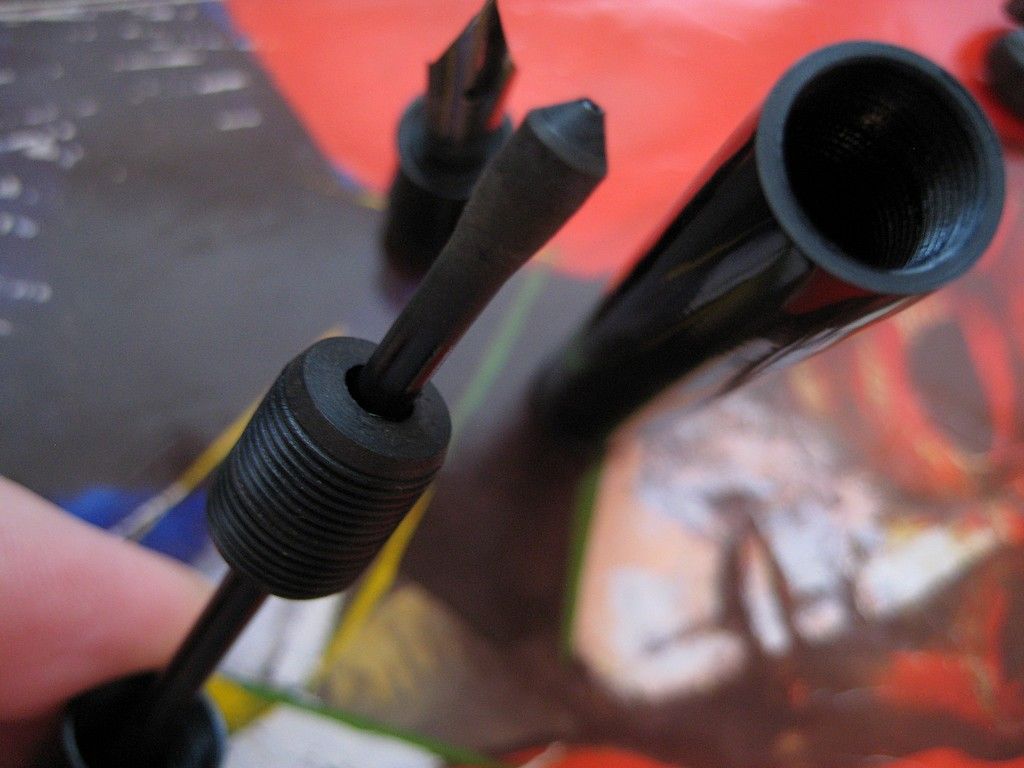
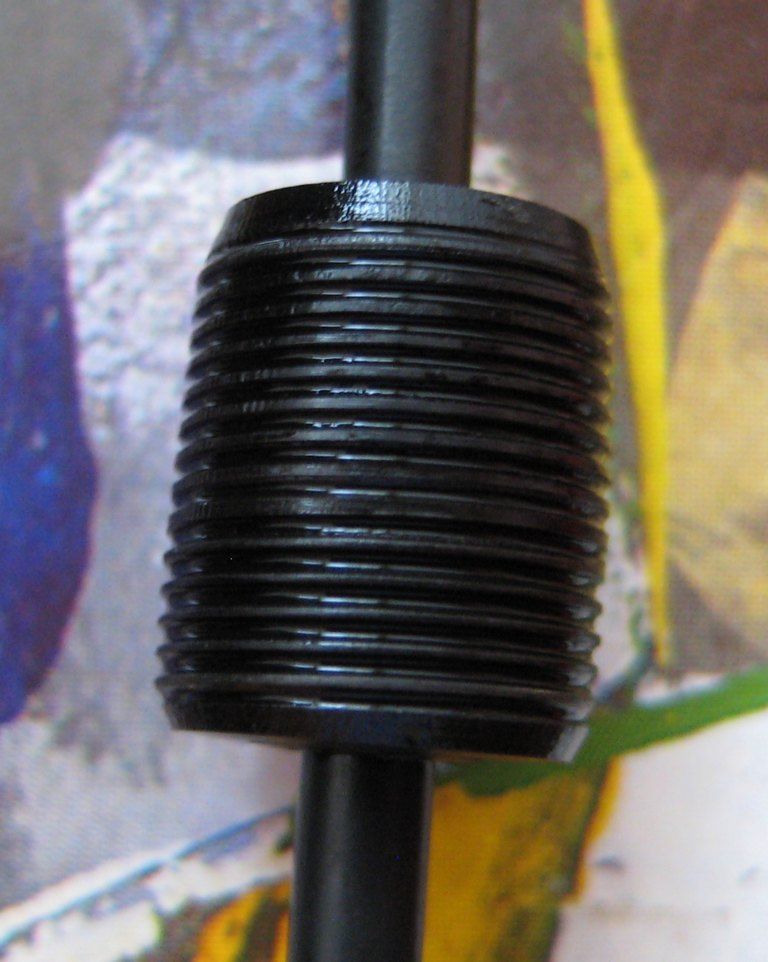
| The glycerine soaked boss, immediately after removal from the barrel. |
As before, cleanup was with soapy water and a good rinse.
 |
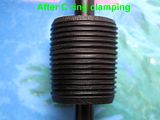
| The boss, freed from the barrel. Remnants of the glycerine are visible at the topmost threads. |
Macro shots of the threads (click thumbs to zoom):
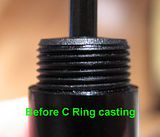
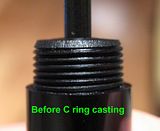
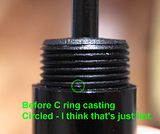
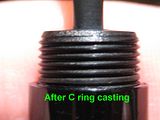
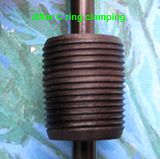
Boss Before Casting The C Ring
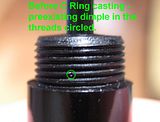
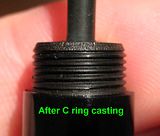
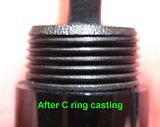
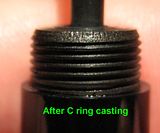
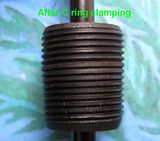
Boss After Casting the C Ring

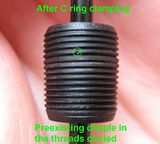
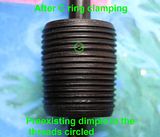
Boss After Clamping the C Ring & Removing the Boss
Beware the Jinn hidden in that fountain pen boss when you finally get it open!
ReplyDelete(Of course, it might have escaped. That might be why there was looseness and leaking... but if it is still in there, I think you get three fountain pen wishes...)
Scrivelry
Hi Scriv! Lol, life has conspired to delay me giving the eyedropper any attention. I'd like to have a go opening it up this weekend... we'll see!
Delete