[January Update - the
third vacumatic is complete. It's been given away on the Fountain Pen
Network's Pay it Forward thread,now that it is fully tested. Scroll down
past the video for a few photographs from the build process.]
I've used the parts I have left to modify a 3rd 616 Jumbo, the completed pen will be given away as a "Pay It Forward" on FPN.
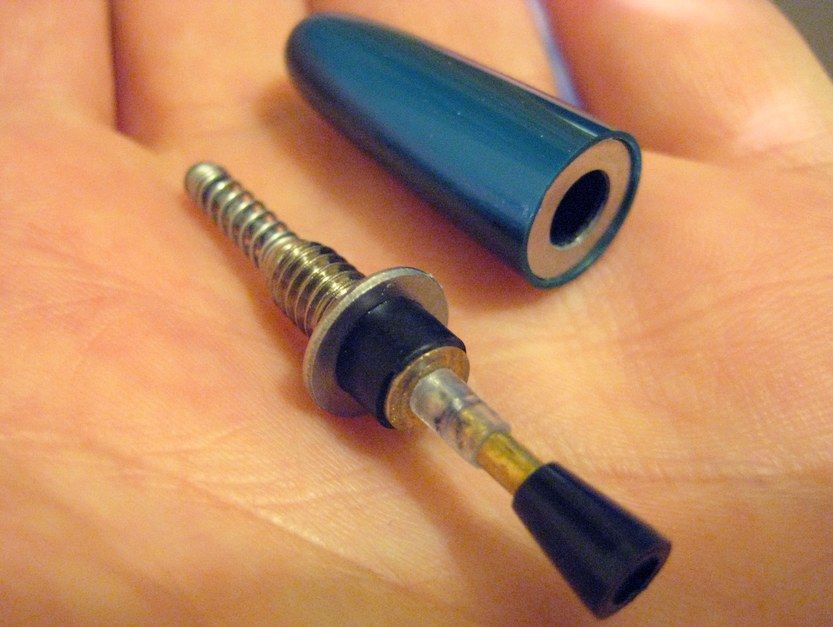
At last, the filler unit
is complete, the barrel is cut apart, the blind cap lip has been bored
out, the diaphragm is attached to to the filler rod's pellet holder, the
filler unit is sealed in the barrel and the blind cap threaded insert
is installed.
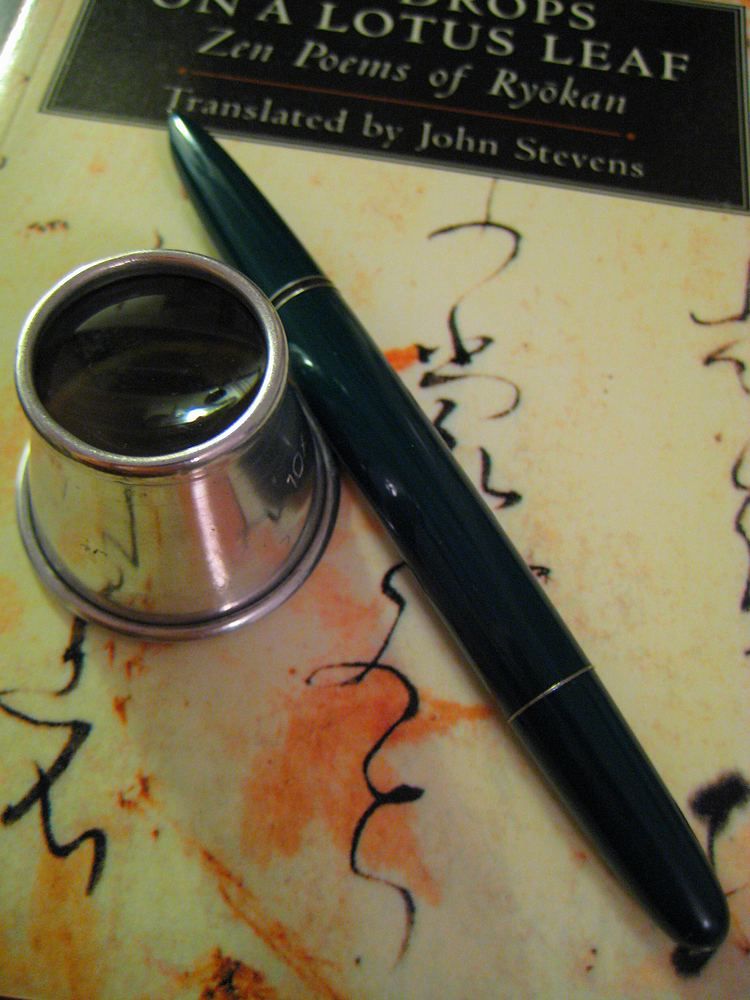
The pen is complete, the barrel tested for leakage, the nib dip tested for smoothness, and the completed pen fill tested - average maximum capacity is between 1.6 and 1.7ml.
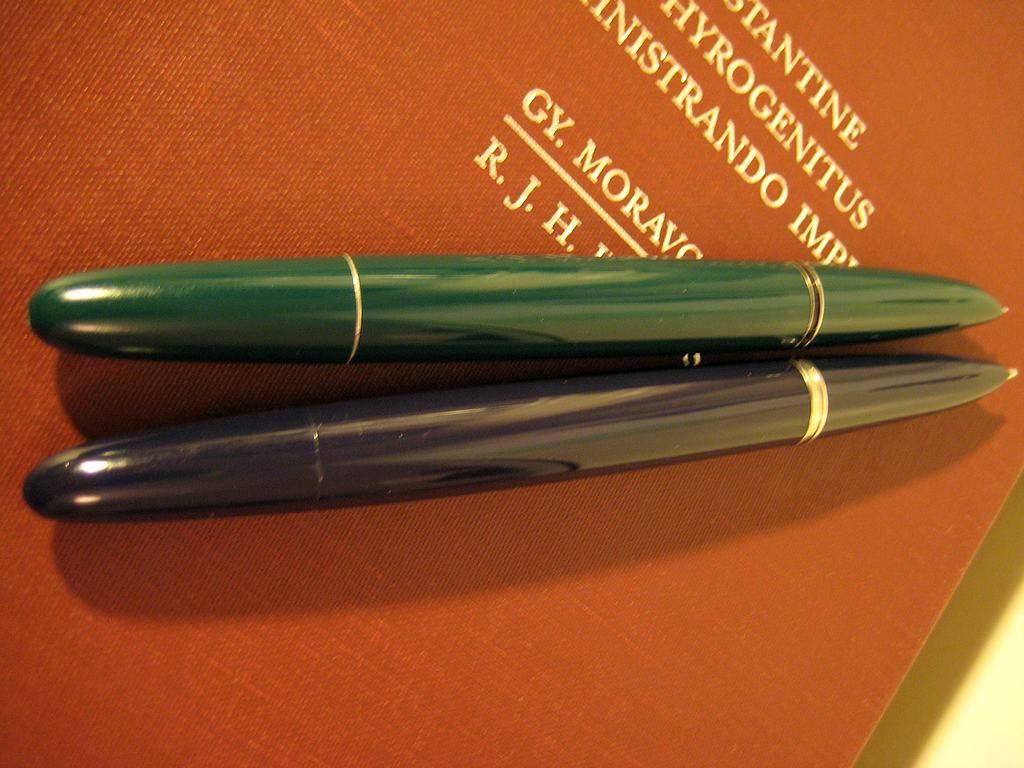
Here's a couple of fresh photos of the finished pen, next to a 1948 Parker 51 for comparison.
From top to bottom: the vacumatic Hero 616, and a vacumatic Parker 51.
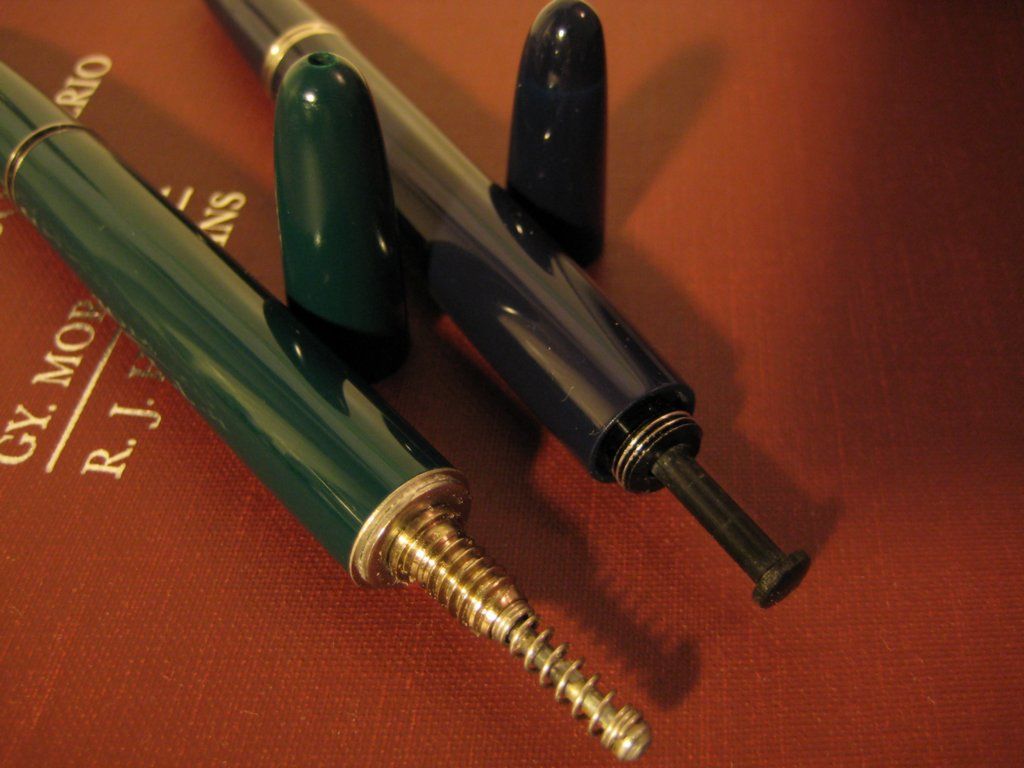
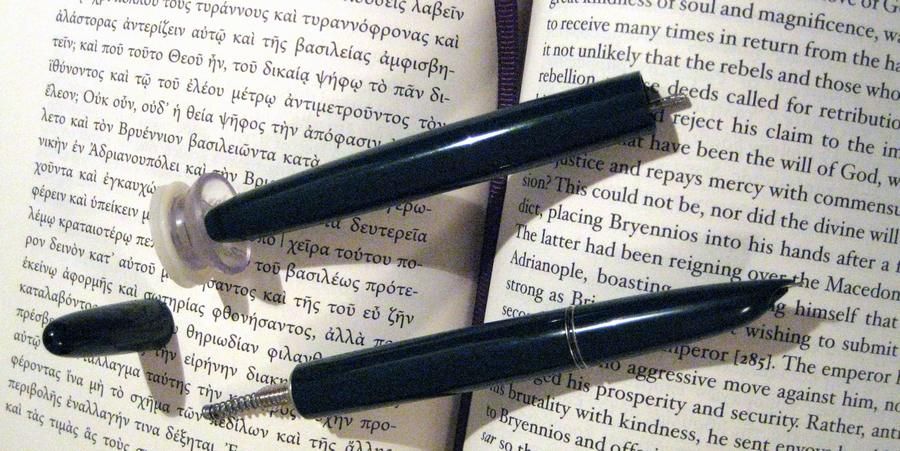
Blind caps removed, and filler units exposed.
As well as the filler swap, the tines have been spread apart slightly
to make the ink flow more generous, then aligned with one another, and the nib and feed
have been aligned straight with the hood. The nib has been smoothed with
micromesh, a brown paper bag and a wet mirror.
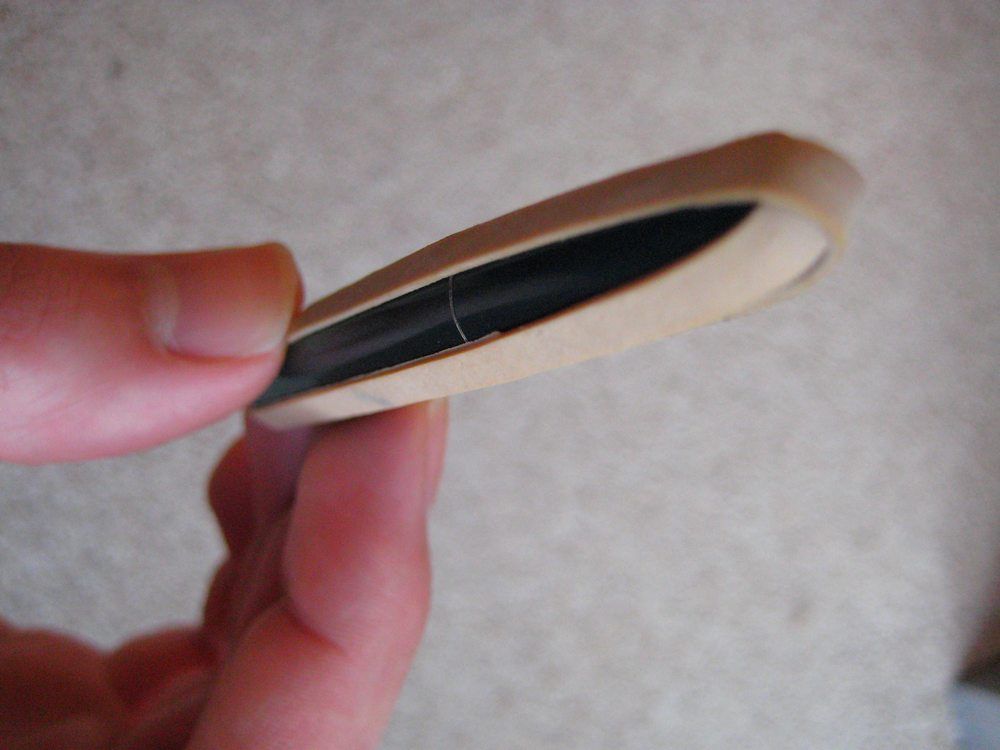
The PIF barrel on the improvised cutting spindle. The blind cap on the mark 2 is kept stealthy, with no visible trim ring. The mark 3 gets a trim ring taken from the old button filler 616.
As with the Mk2, the Mk 3 gets an
alteration to the internal filler. Instead of being mounted on an
oversize washer with a rubber sleeve taking up the slack, an undersize
washer is first slightly bored out, then hammered into place with a
hollow drift. The friction fit between the two is very strong.
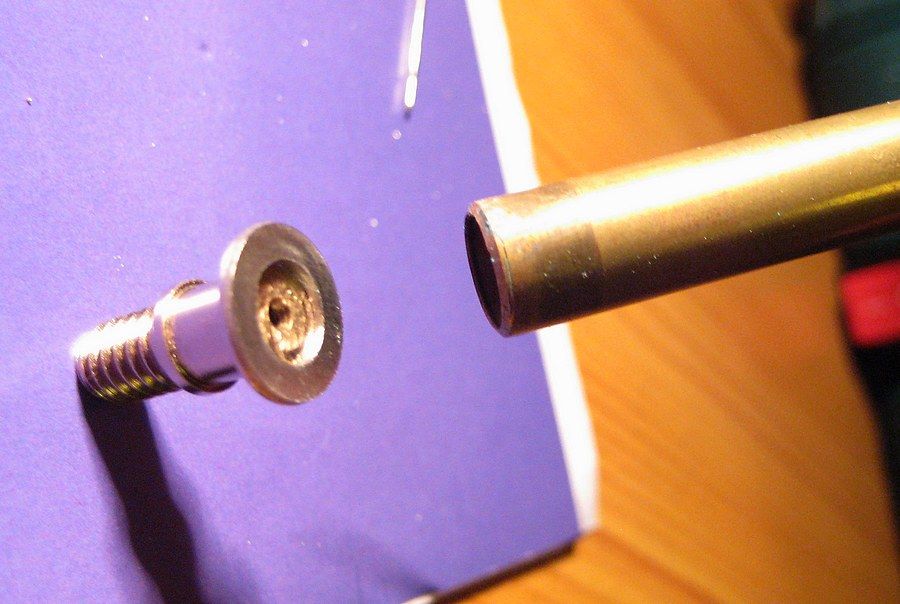
The barrel washer, about to be fitted to the filler housing.
As the irregularity of this barrel was quite severe compared with the others, I opted not to go for a stealthy blind cap. For strength and durability, I first superglued a 616 trim ring to the filler housing's washer, then sealed it to the barrel, so that the entire available surface area was sealed to the filler.
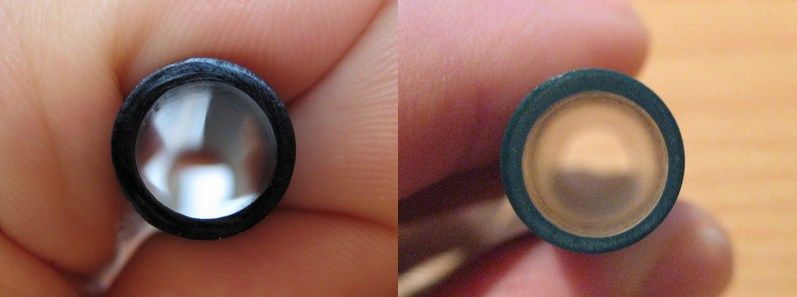
Once exposed, I found the Mk.3's barrel wall thickness (on the right) was very eccentric, so chose to have the filler housing in contact with the entire available surface area.
A completed vacumatic filler, with the blind cap in background. The blind cap lip is bored to accept the filler housing washer.
With the filler installed, the blind cap is held in decent alignment till the sealant sets.
No comments:
Post a Comment
Comments seem to be working okay again. You can try leaving one, it might work! If not, you can reach me on twitter if you like @Flounder_FPN
No comments:
Post a Comment
Comments seem to be working okay again. You can try leaving one, it might work! If not, you can reach me on twitter if you like @Flounder_FPN