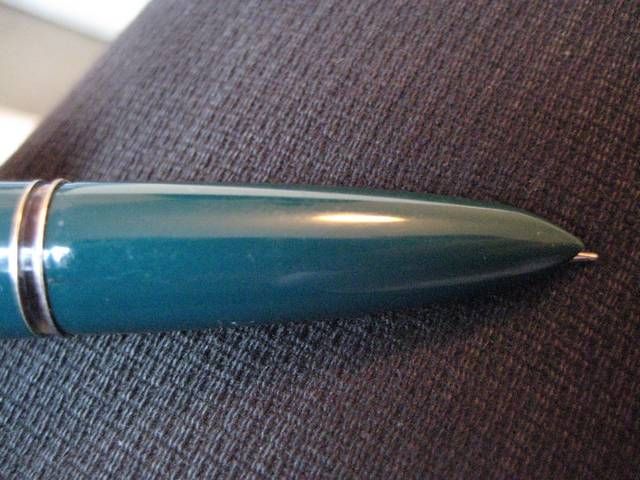
This inexpensive, mass produced plastic cigar has helped me learn about nib smoothing, tine alignment & flow adjustment, cap assembly, ink sac types and their properties, button filler mechanisms, vacumatics, aeromatics, collector, nib, feed and hood alignment - far more than could be reasonably expected of it. I probably owe my serendipitously disaster free resurrection of older pens (so far...) to the 616.
This post concerns a common "characteristic" of 616 jumbos - straight from the blister package, the nib can be off centre from the hood. This is purely a cosmetic concern, and they will still write without tweaking. You only need to start tinkering if the nib not being straight plain bugs you, or you temporarily want better access to the nib for smoothing, aligning the tines, or changing the rate of ink flow.
Bifurcation time! There are 2 paths to take here, depending on how the pen was put together at the factory, greased or sealed:
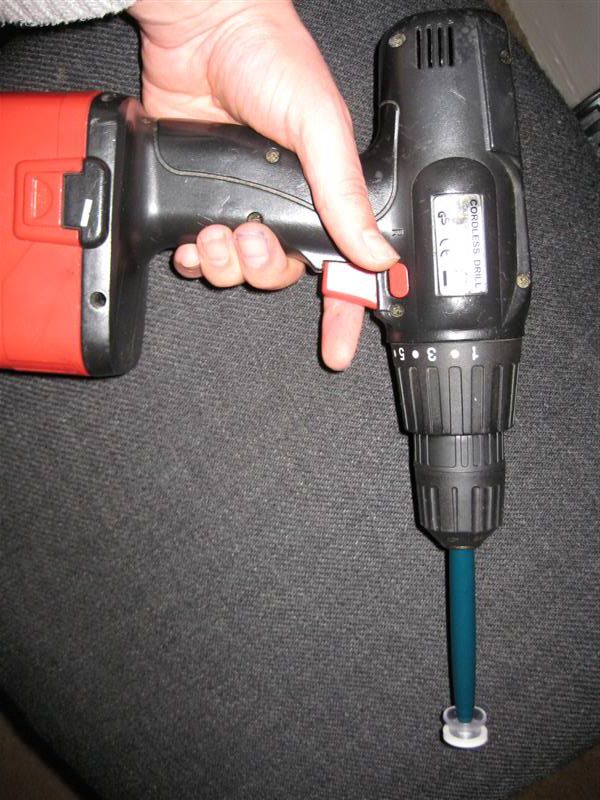
My most recent batch were stamped 2012, and their hoods are sealed on strongly. I'm not keen at all on stressing the thin plastic in attempting to get these new pens open. I recommend the safe and simple technique shown in the video below for sealed units.
This technique aligns the nib safely to a sealed 616 jumbo hood, never attempt the same on a Parker 51. I couldn't think of an amusing chiasmus to write here. Any ideas?
The three jumbo 616's I bought last year, on the other hand, had hoods that were made ink-tight with a mere smear of grease on the threads. I recommend the method below for these, as you really are better off with sealant on the hood threads rather than grease. This method is a bit more involved, but does get you some great hands-on experience should you ever need to open a very similar Parker 51.
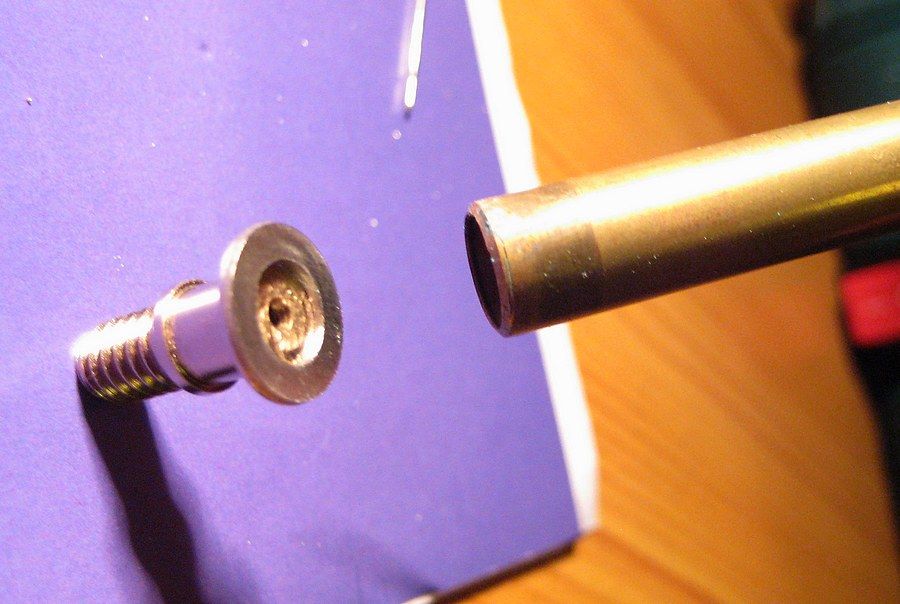
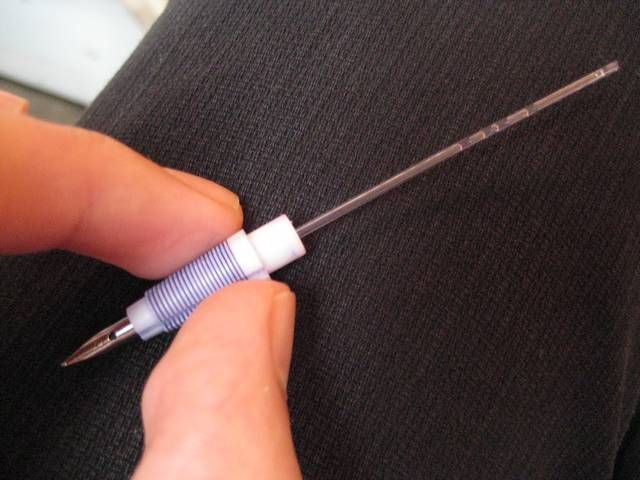
First, here's the patient (click to zoom all photos). This is assuming a really badly put together pen, with the nib, hood, and feed all over the place, for ease of demonstration. I've never seen one come out of the packet this bad in reality.
Flip the pen over, and it's so bad, the nib is even off centre from its feed (the black bit)

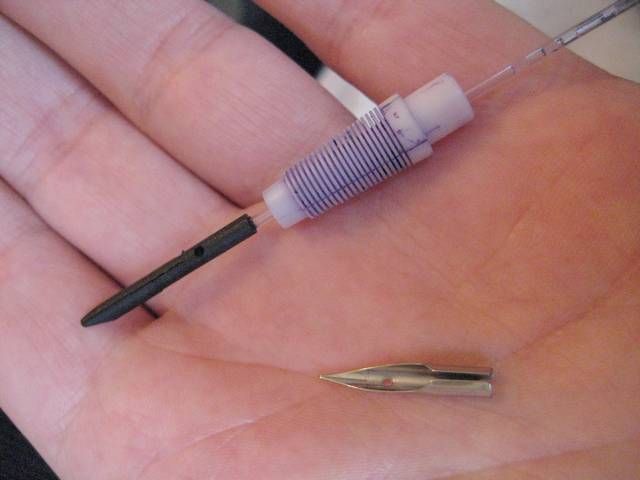
So unscrew the hood to take it off - unlike a vintage Parker 51, there's not much call for dry heat or soaking - and clean the grease off the
threads.

Pull out the white collector!
With a pull and push rhythm, the nib and feed can be pulled out of the collector.
Set the nib and feed straight, then push them straight into the
collector. The feed should face the thin channel in the collector
(though to be honest, judging from my experiments it doesn't really have to).
Leave all that out of the pen, and screw the hood back into place - not crazy-tight, just snug. Make a
mental note of where it stops, or use a bit of tape, or something. Take
the hood off again.

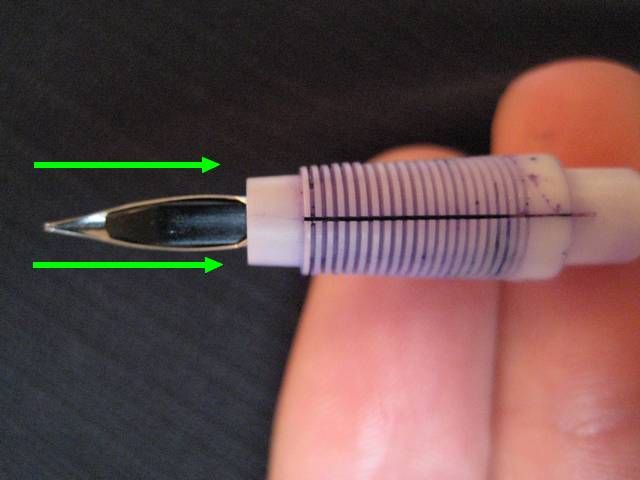
Push the white collector back into the pen, and turn it left or right
till the top of the nib is aligned with the top of the where the hood
was. You can screw the hood back on to double check. Once you are happy
enough, apply sealant (shellac for example) to the threads, circled in red. With
these pens, I'd be generous rather than conservative.
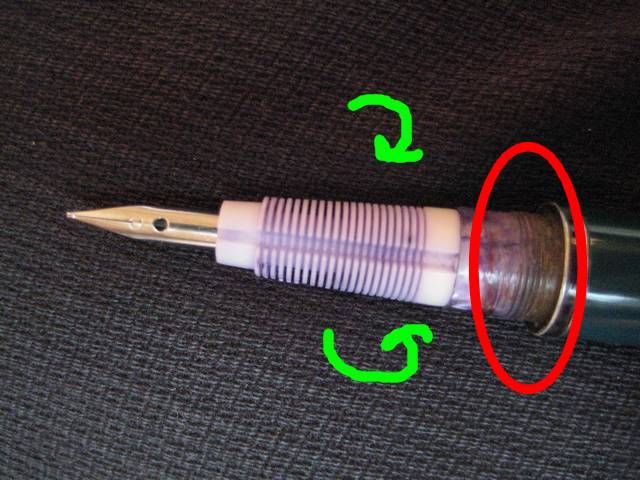
ta-da! Don't forget to let the shellac dry!